
Testnet Testing Guide
Use this guide to test the Veil app on the current preview deployment. The goal is to create a private Veil credit profile, mint a CKB identity pass, and run a test credit check.
Overview
A successful test run should end with these items visible in the dashboard:
- A connected Midnight wallet
- A connected Veil network address
- A created Veil ID
- A confirmed credit profile
- A minted CKB identity pass with a record ID and transaction hash
- An optional credit check result after CKB wallet approval
Before You Start
You need the following before opening the app:
- Chrome or Brave. Browser wallet extensions work best in a Chromium-based browser.
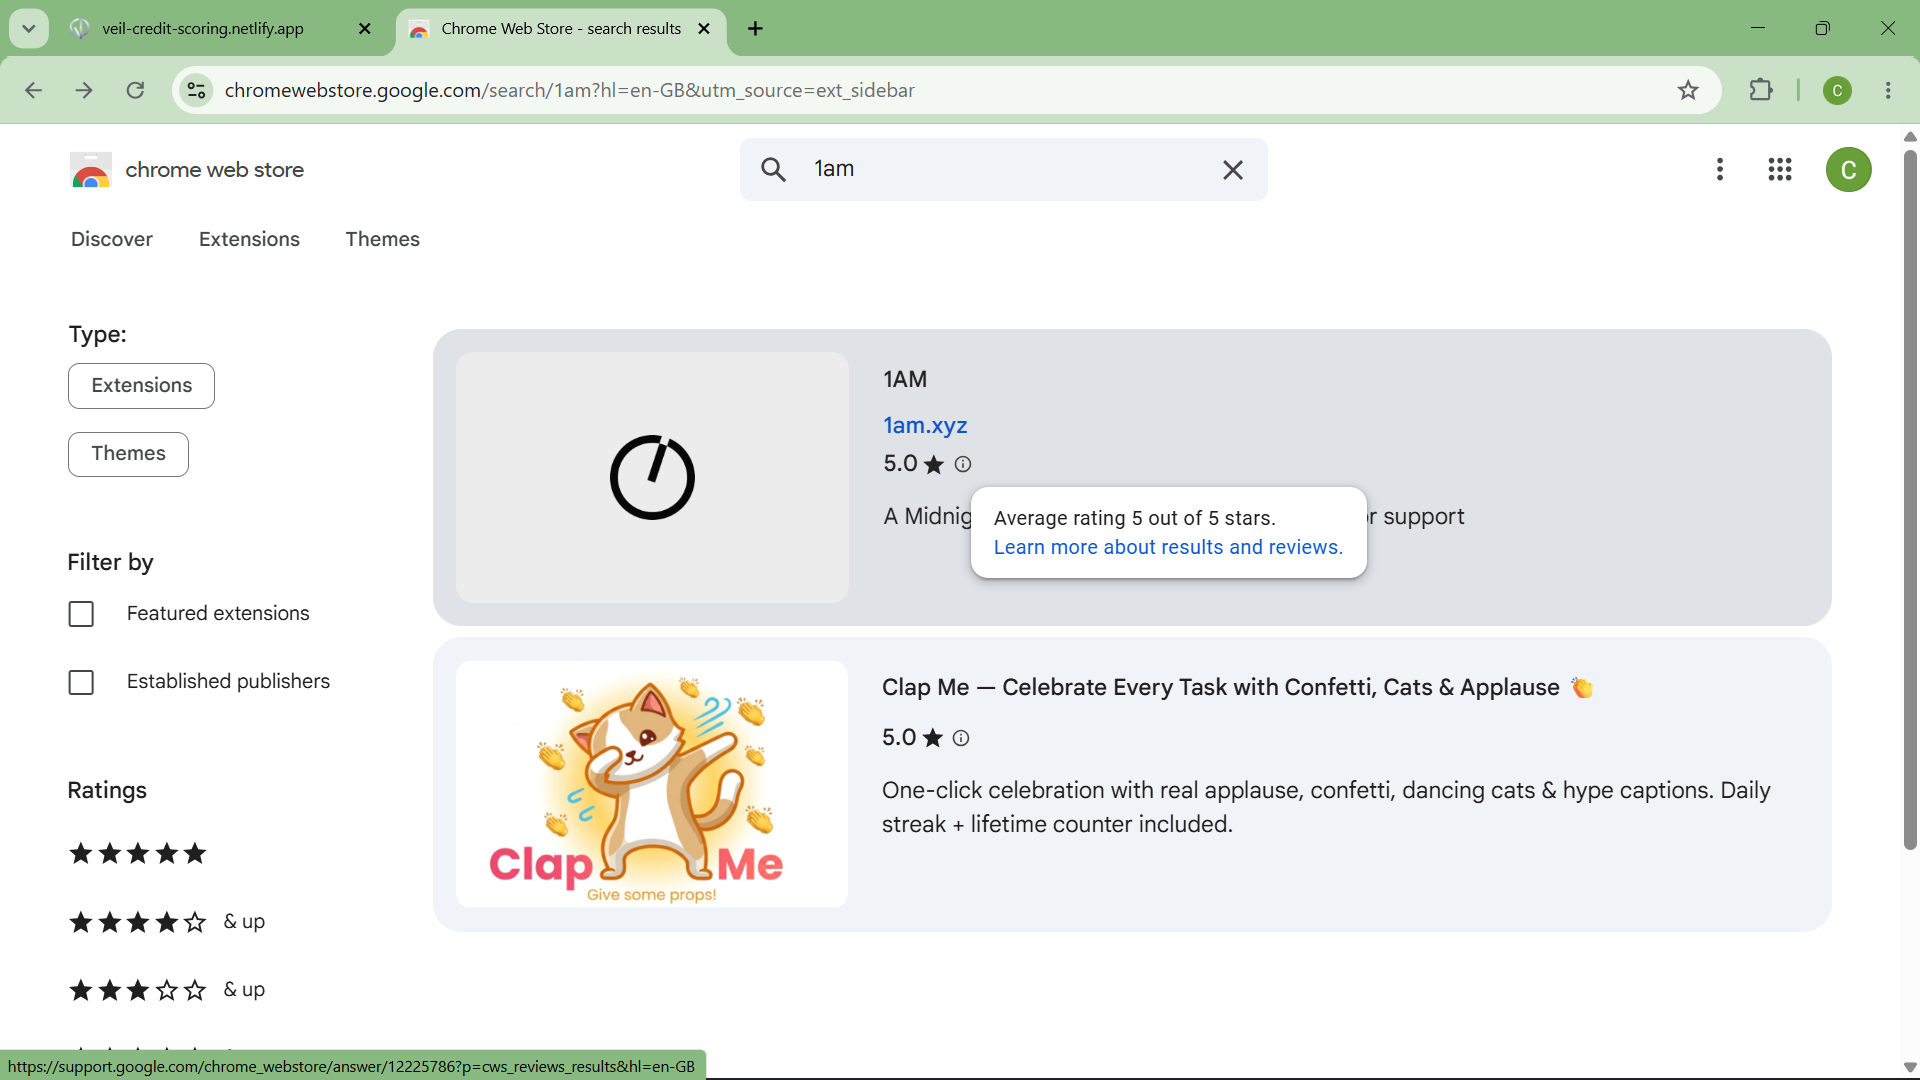
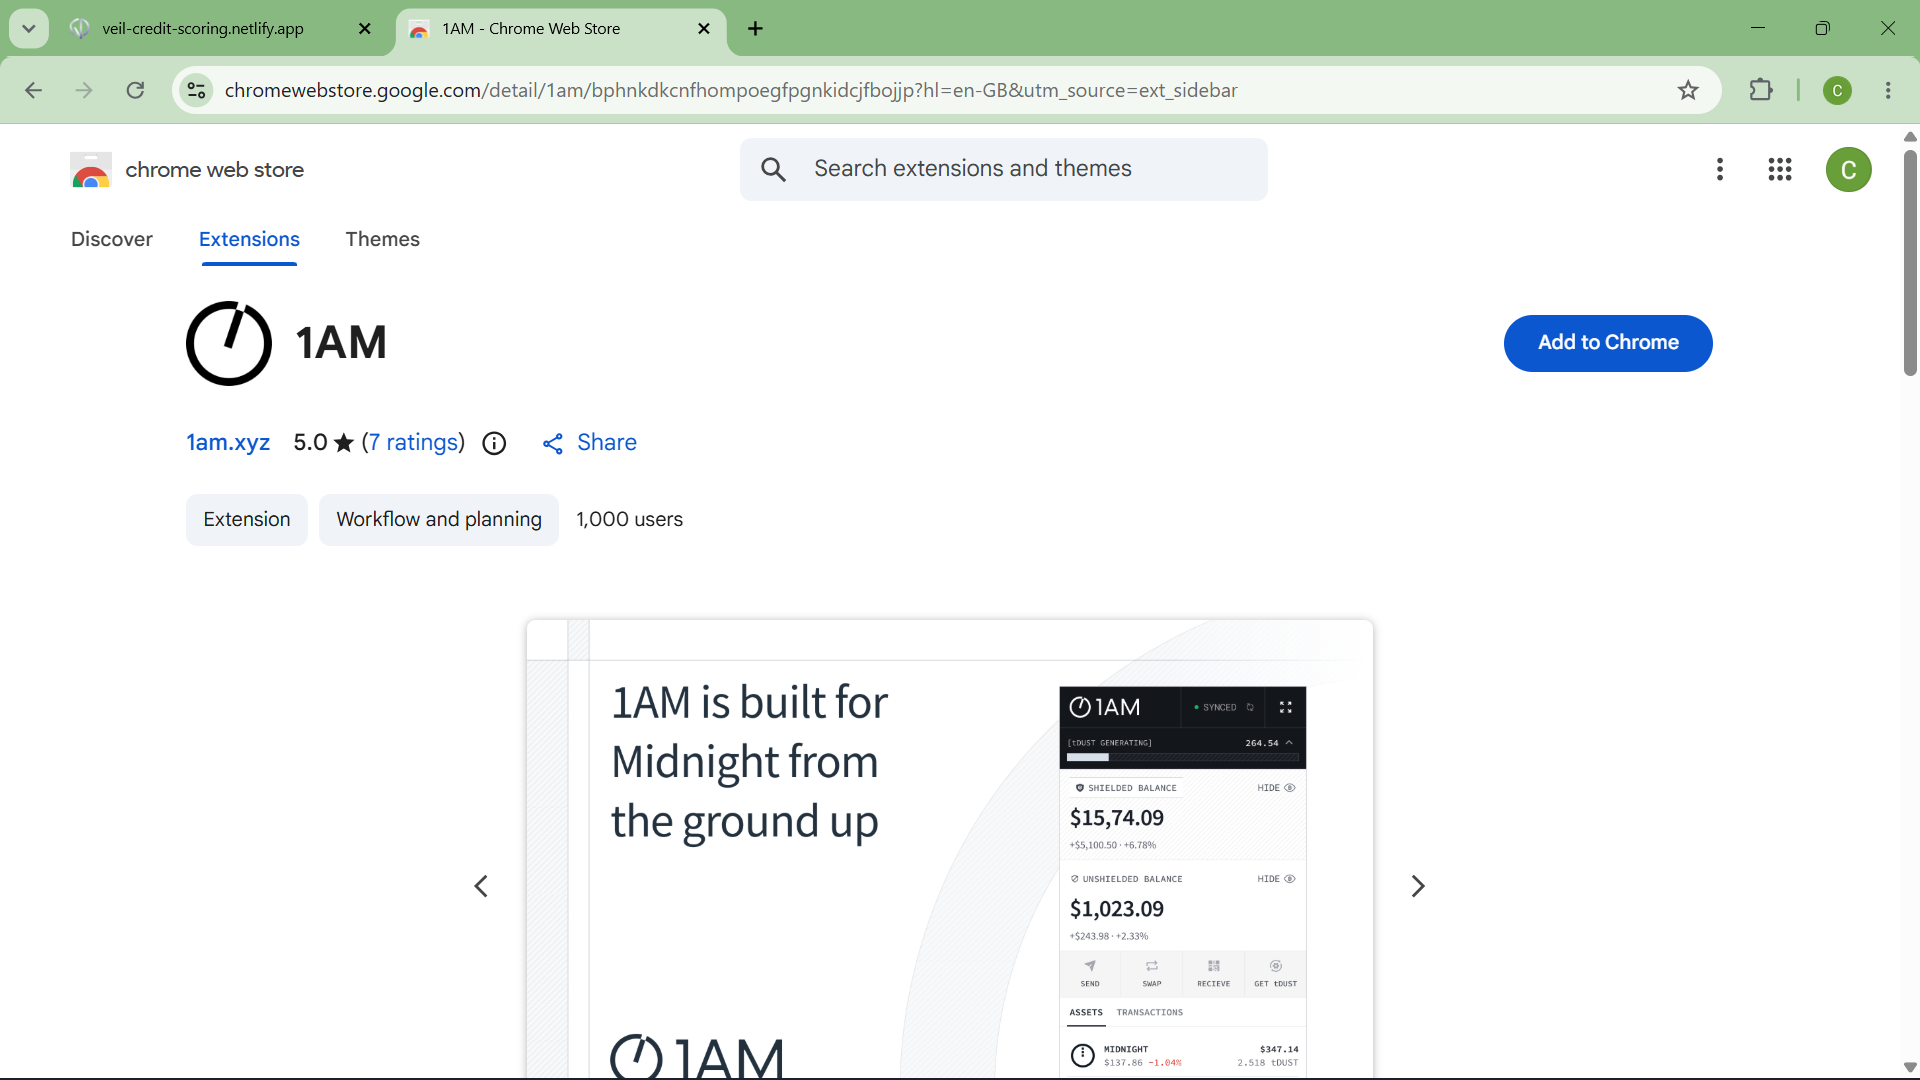
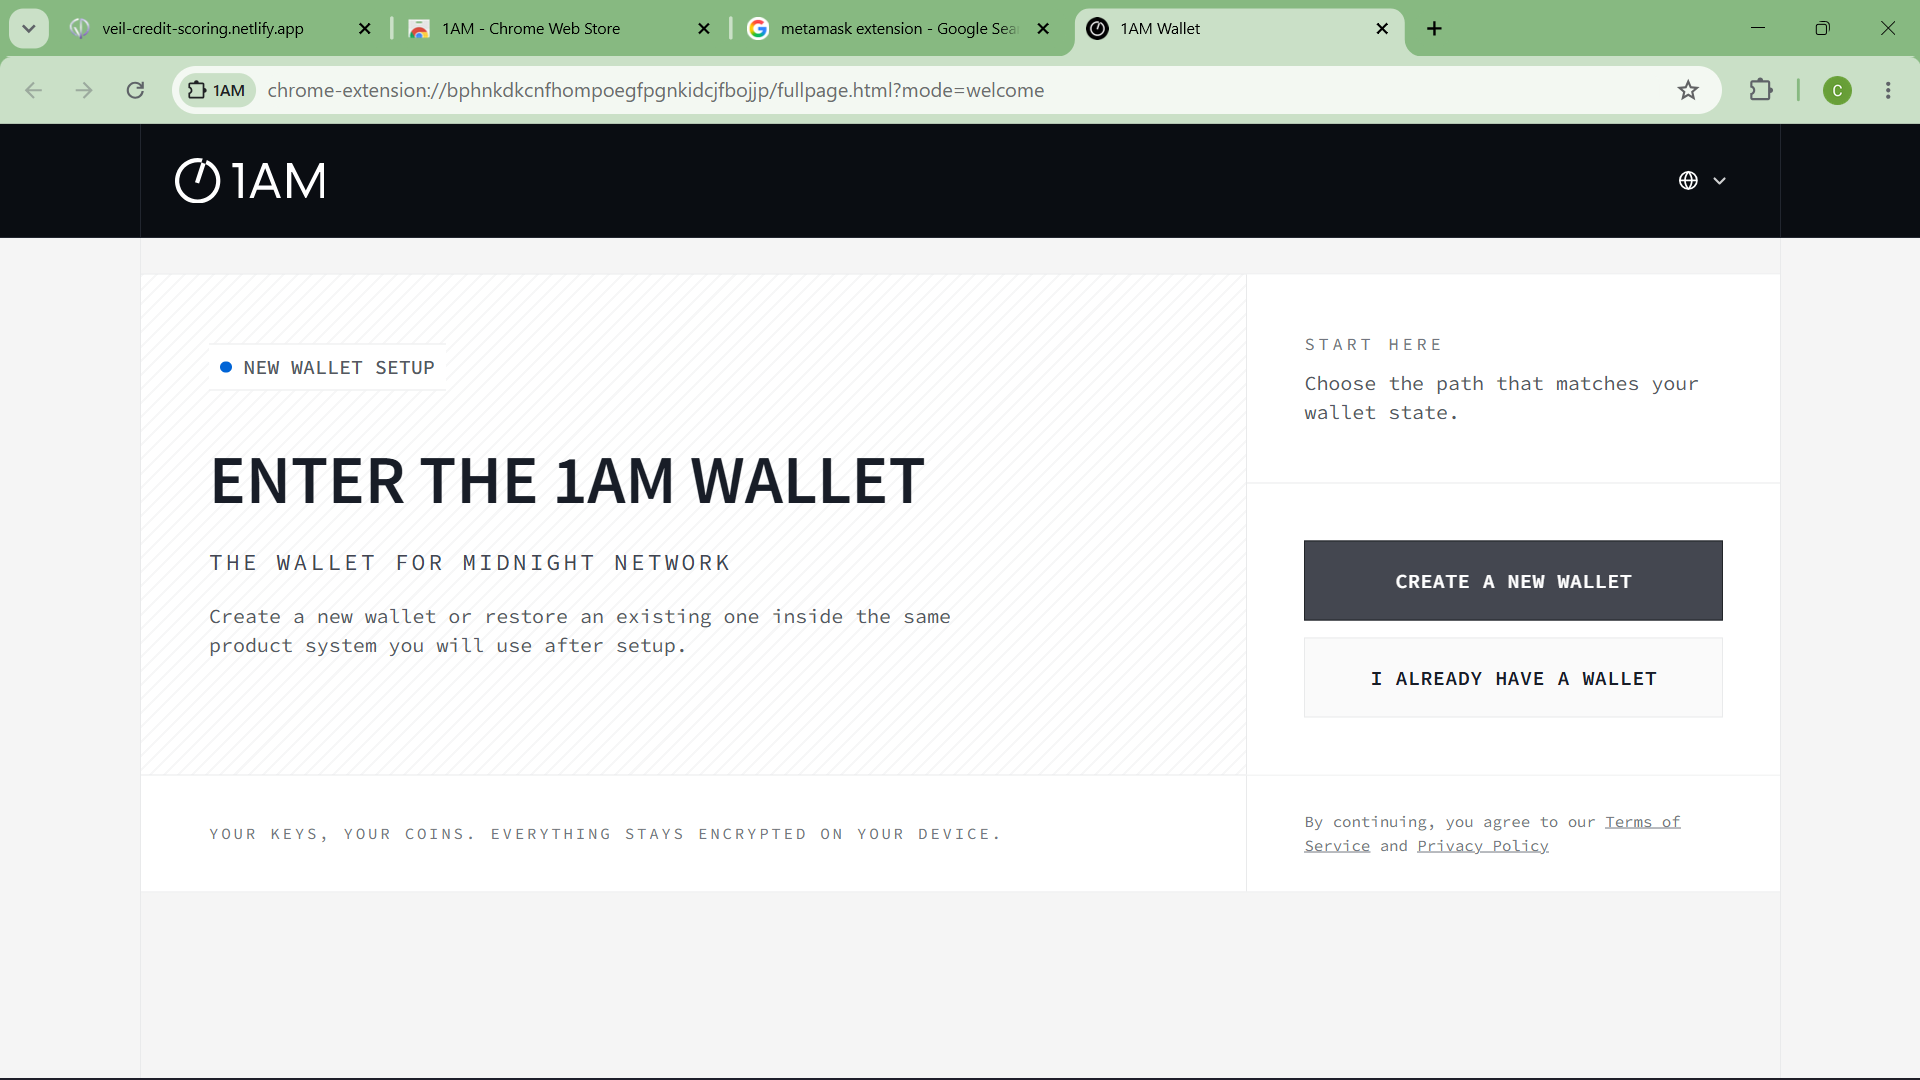
- A Midnight-compatible wallet. Use 1AM Wallet if available. Lace is also supported by the dashboard.
- A CKB testnet wallet. Metamask is the easiest option for most testers. Other CCC-supported CKB wallets may also work. Make sure the wallet is in testnet mode by selecting "Show test networks"
- Testnet CKB. Your CKB wallet needs enough testnet CKBytes to pay for the identity pass mint. You can claim faucet tokens after connecting your CKB wallet in the dashboard.
- The Veil app URL. Use the testnet app link shared by the Veil team, then open
/dashboard.
Testnet Networks
The current frontend example configuration targets these services:
| Service | Current testnet value |
|---|---|
| Midnight network | preview |
| Current preview contract | 115b1fb509025f6d9f7d8976101a31f28014d4b5627f518c5601ed7ef1179cc5 |
| Veil backend API | https://api.13-61-145-21.sslip.io/api/v1 |
| Midnight indexer | https://indexer.preview.midnight.network/api/v4/graphql |
| CKB explorer | https://testnet.explorer.nervos.org |
1. Open the App
- Open the testnet app URL shared by the Veil team.
- Click Launch App, or go directly to
/dashboard. - Keep the browser console closed unless you are collecting an error report.
2. Connect Midnight Wallet
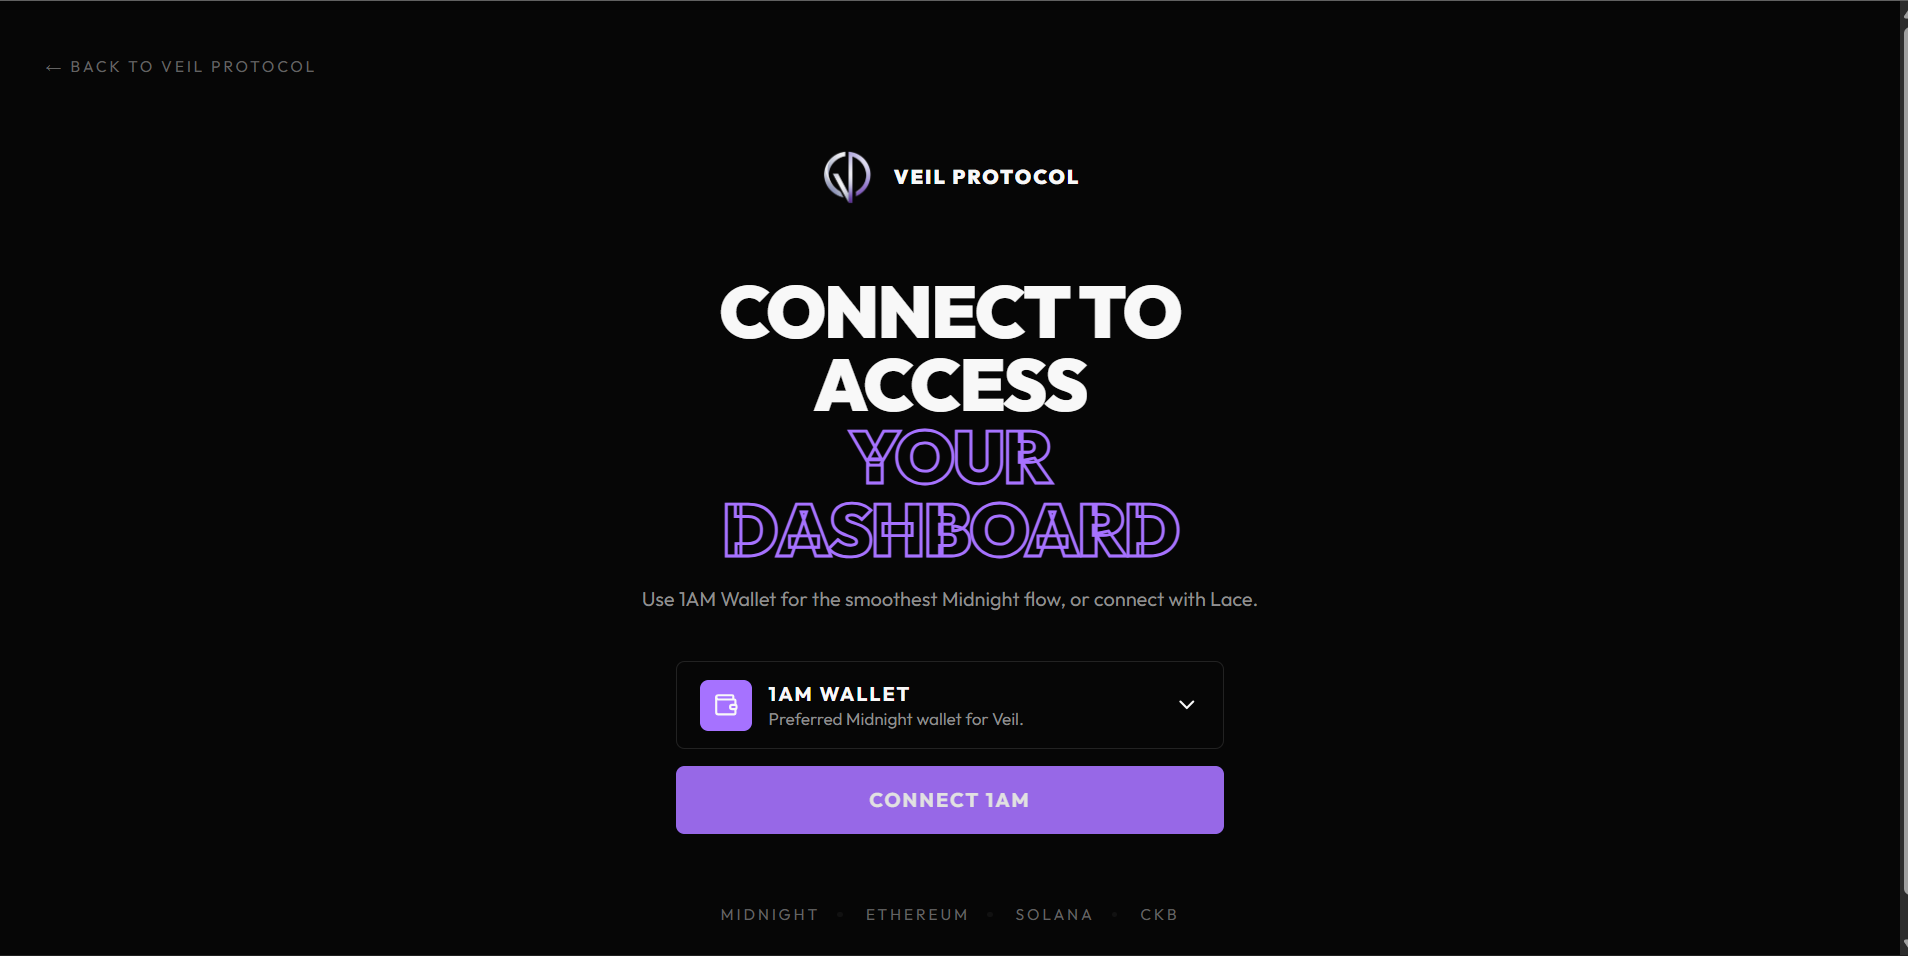
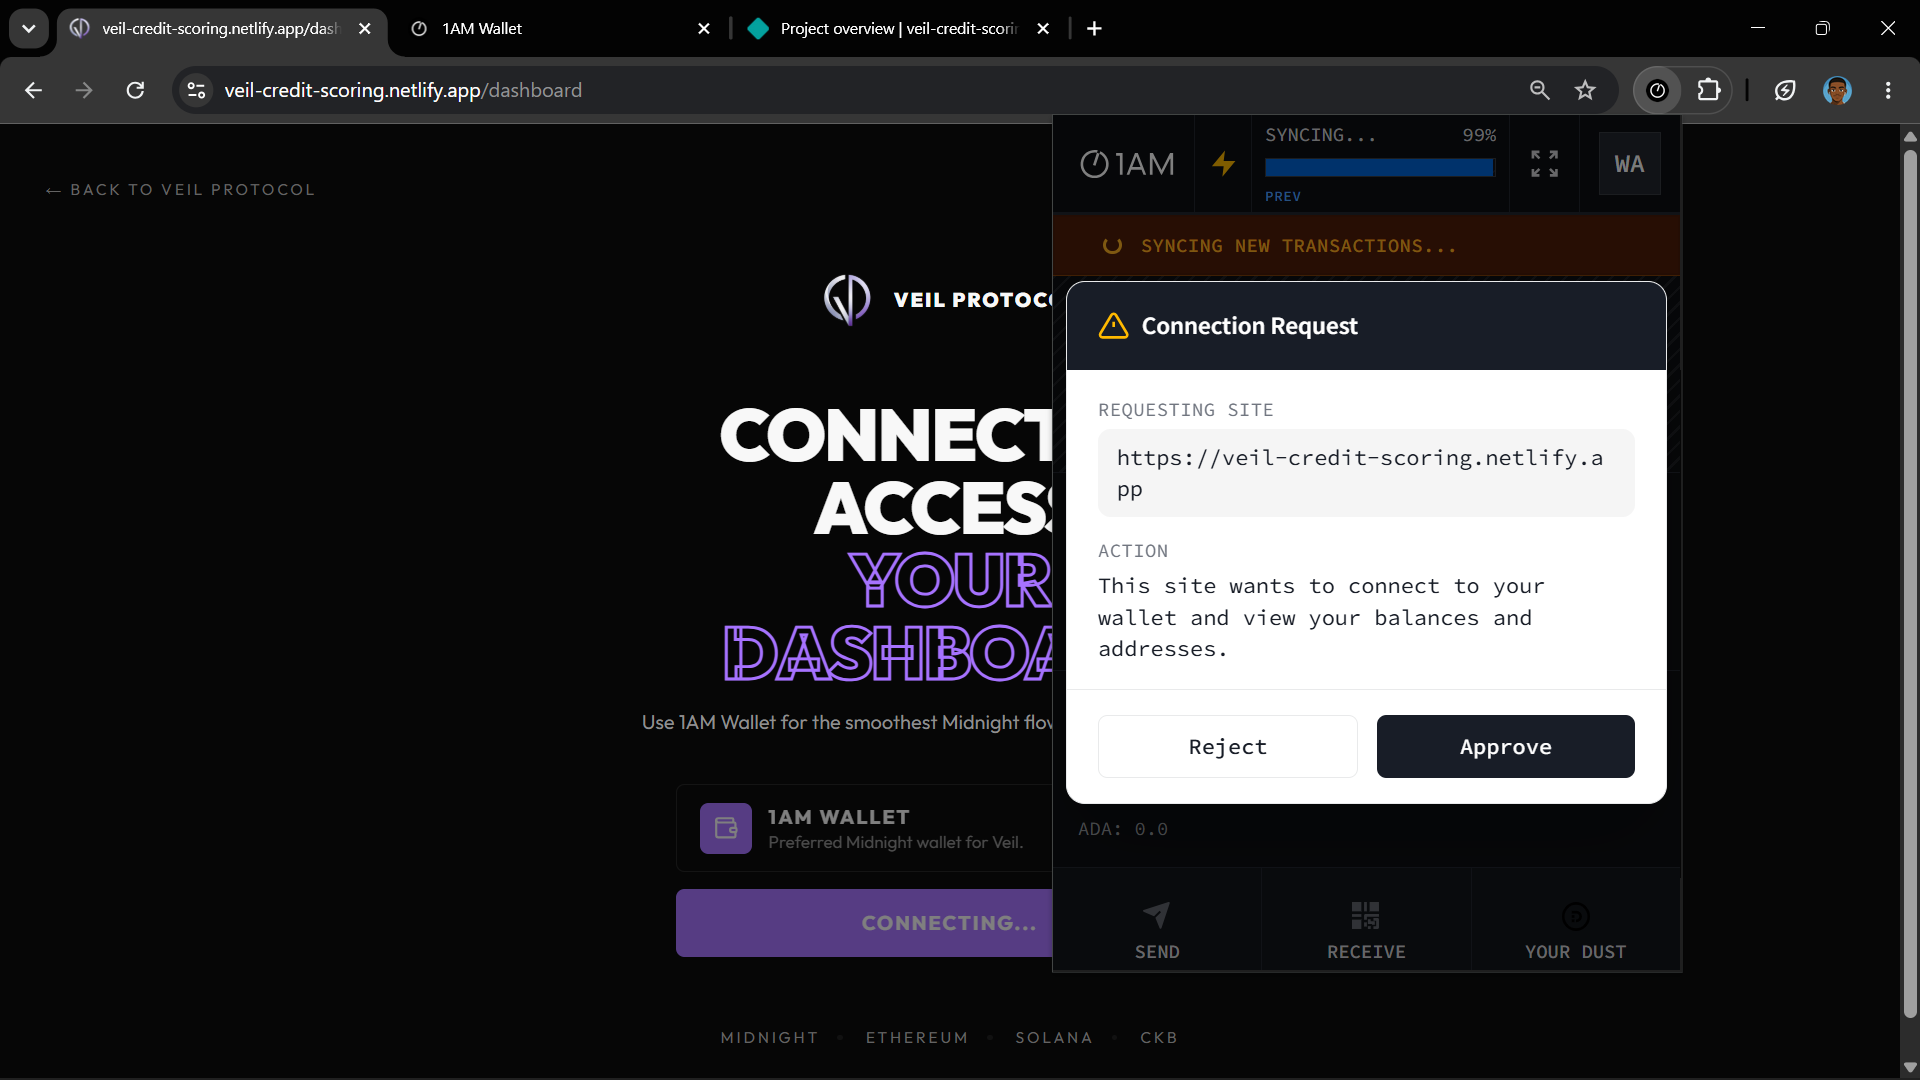
- Click your preferred Midnight wallet in the connect screen.
- Approve the wallet connection request.
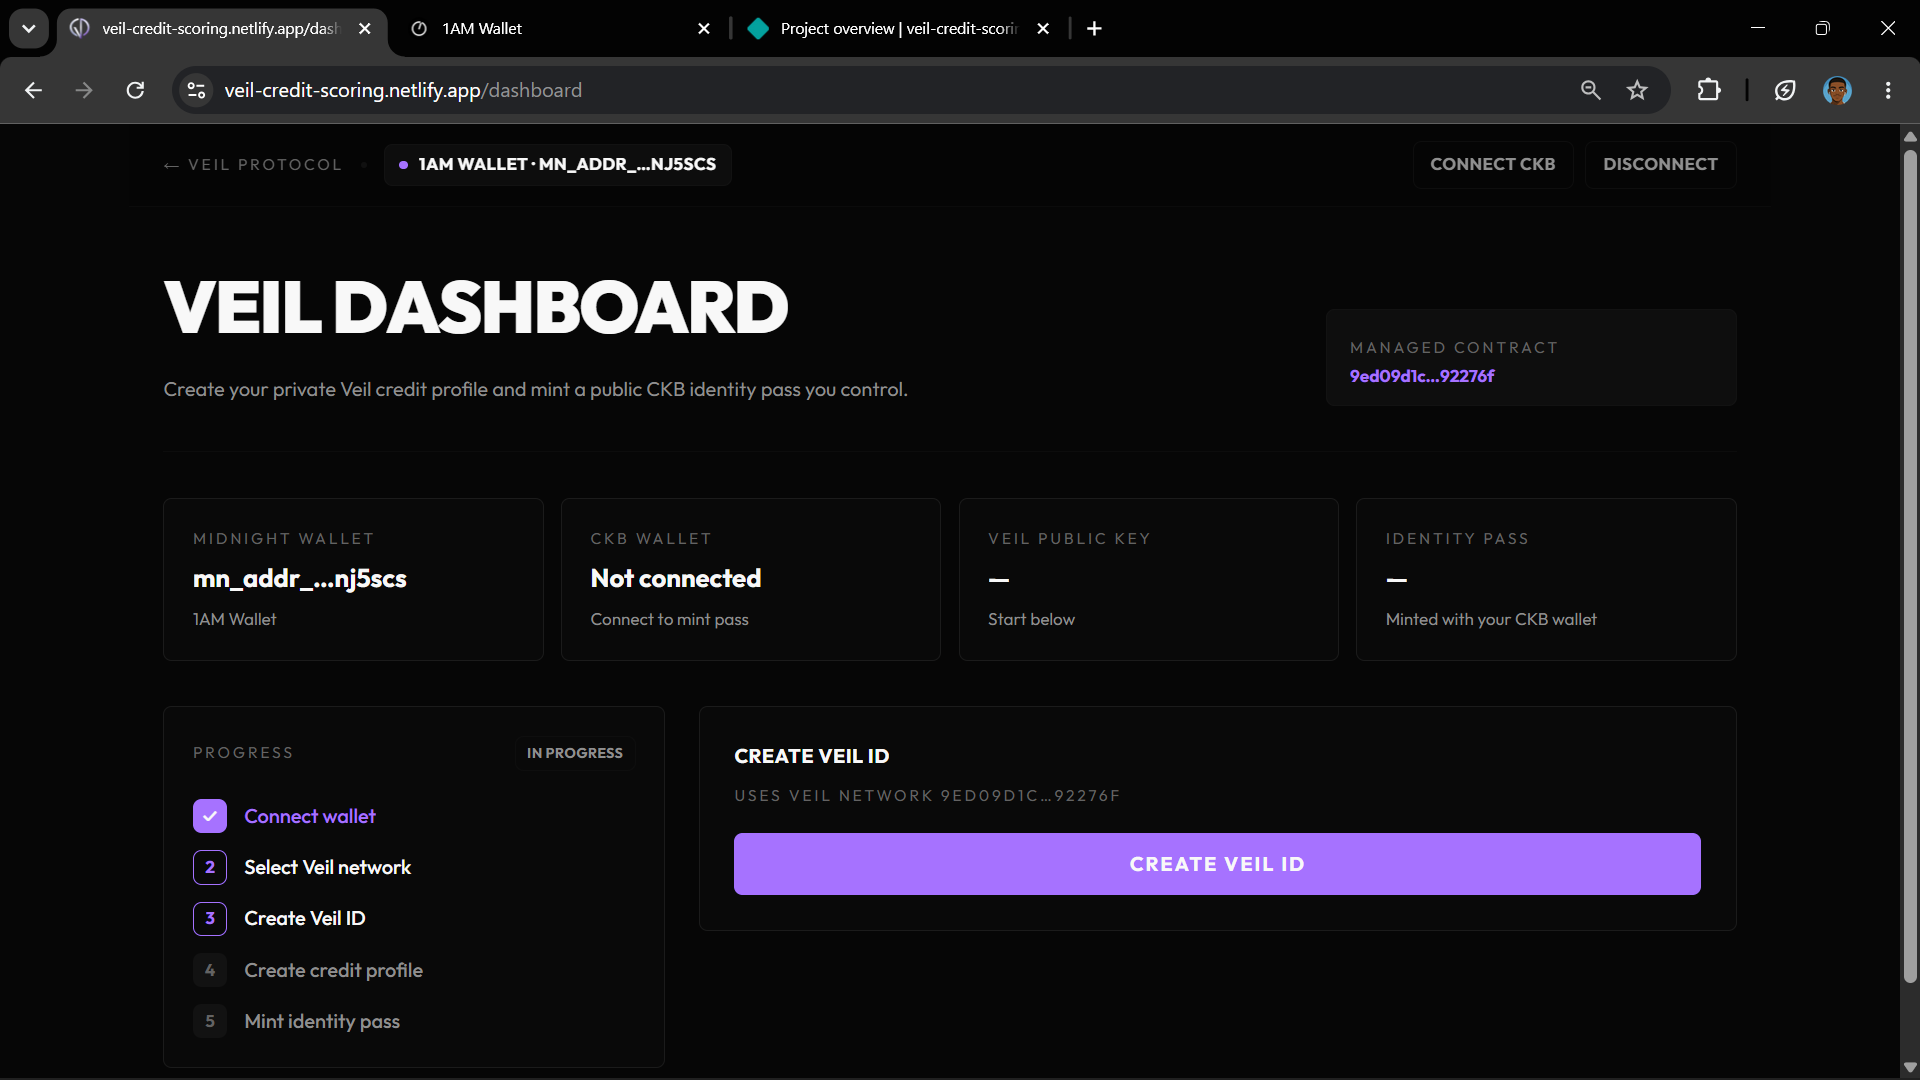
- Confirm that the dashboard shows your connected Midnight wallet address.
The dashboard supports 1AM Wallet and Lace through the Midnight dApp connector. If the wallet popup does not appear, unlock the extension and refresh the page.
3. Create Veil ID
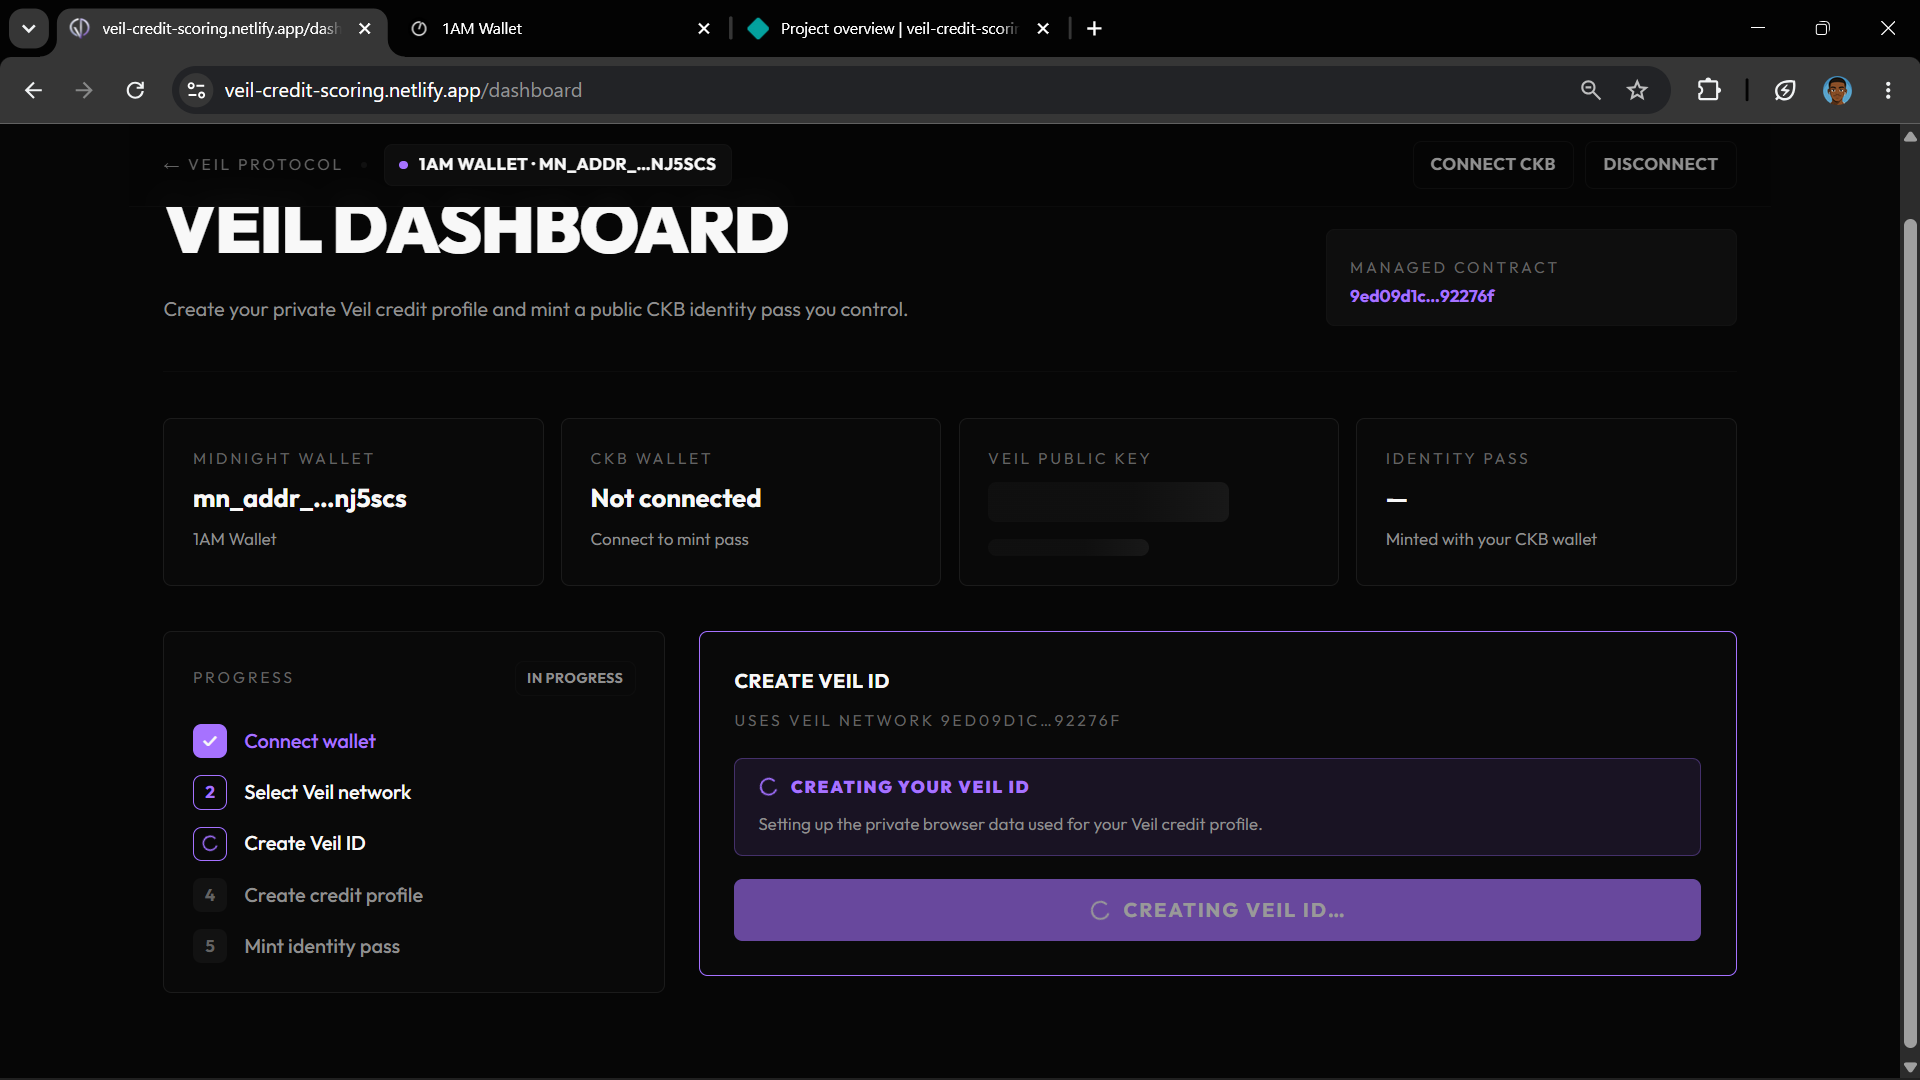
- Find the Create Veil ID section.
- Click Create Veil ID.
- Wait while the dashboard sets up your private browser data and selects the current Veil network.
This step prepares the private browser data used for your Veil credit profile. It does not expose your wallet seed phrase or private keys.
4. View Veil Key
- Click Create Veil ID if the dashboard has not already created it.
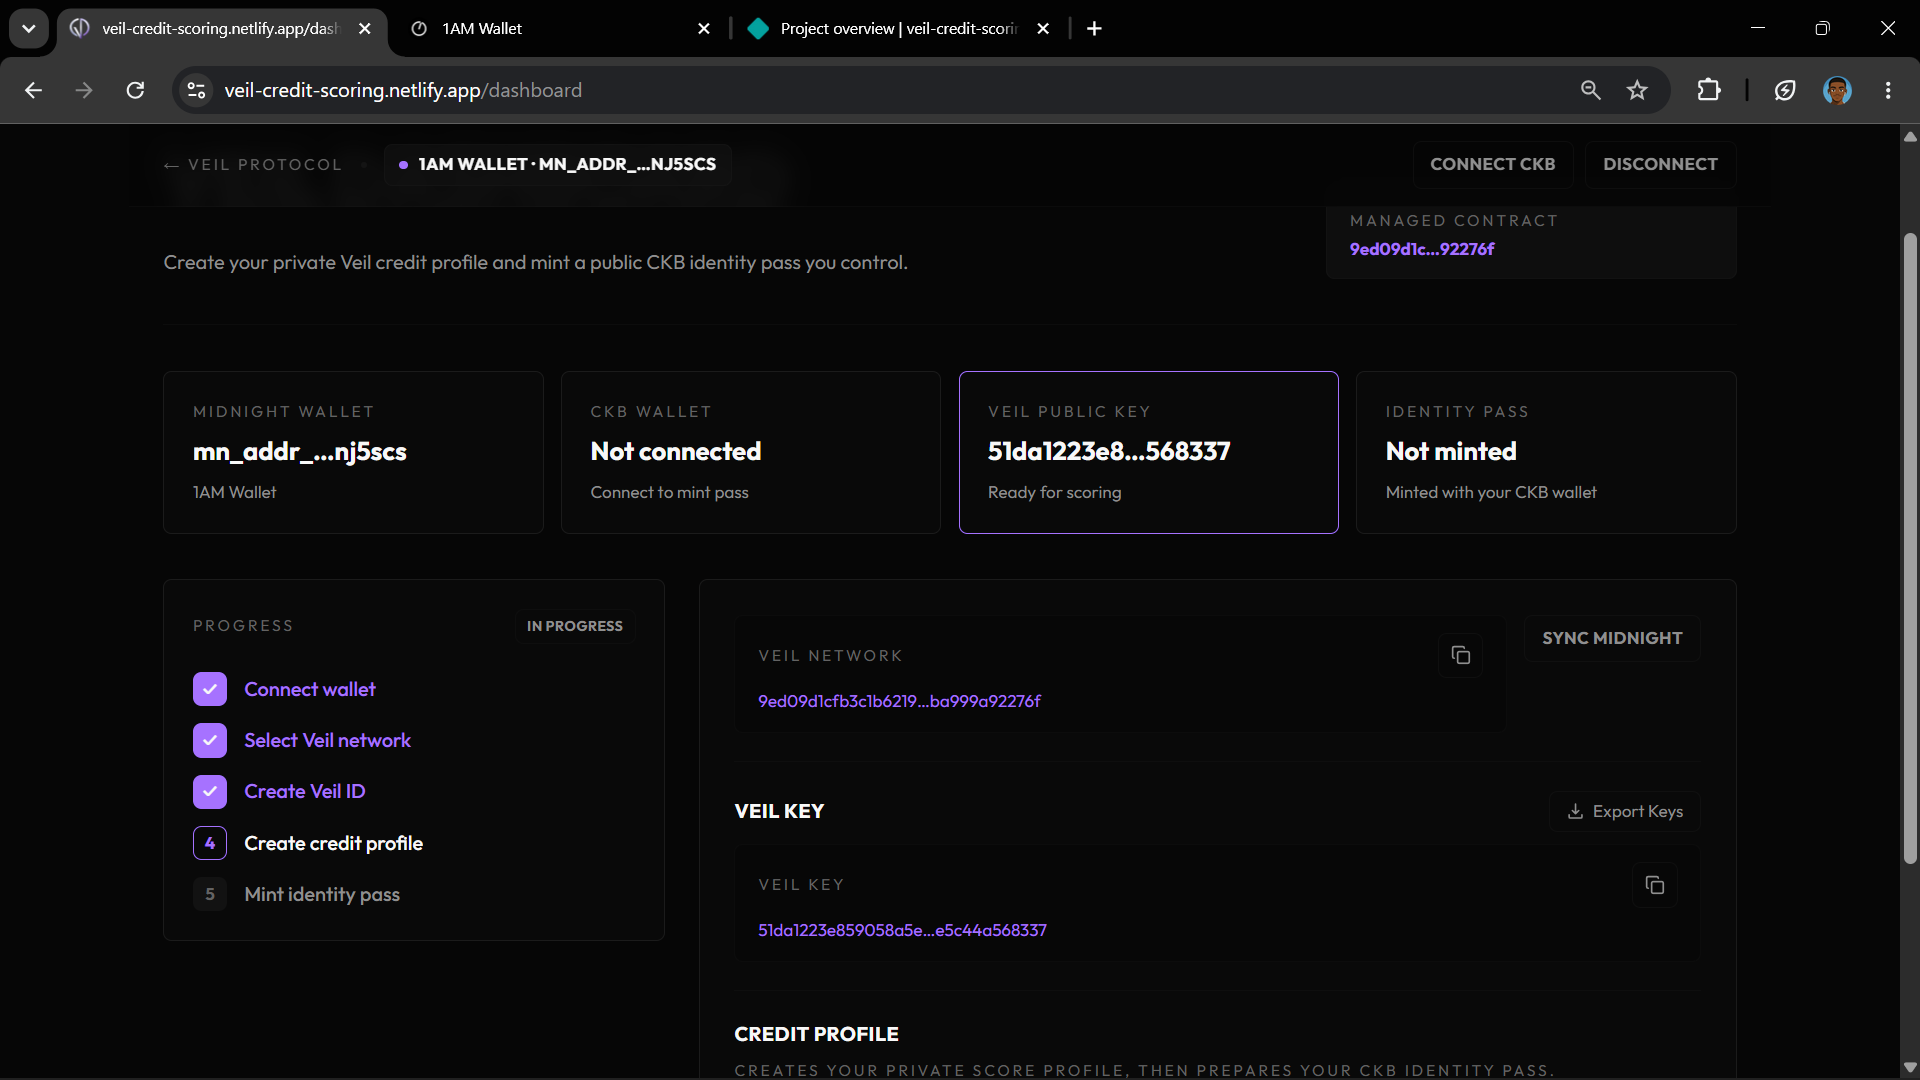
- Wait for the Veil Key field to appear.
- Copy the value only if the Veil team asks you to include it in feedback.
The Veil key helps the scoring system find your private credit profile. It does not expose your wallet seed phrase, Midnight private key, or CKB private key.
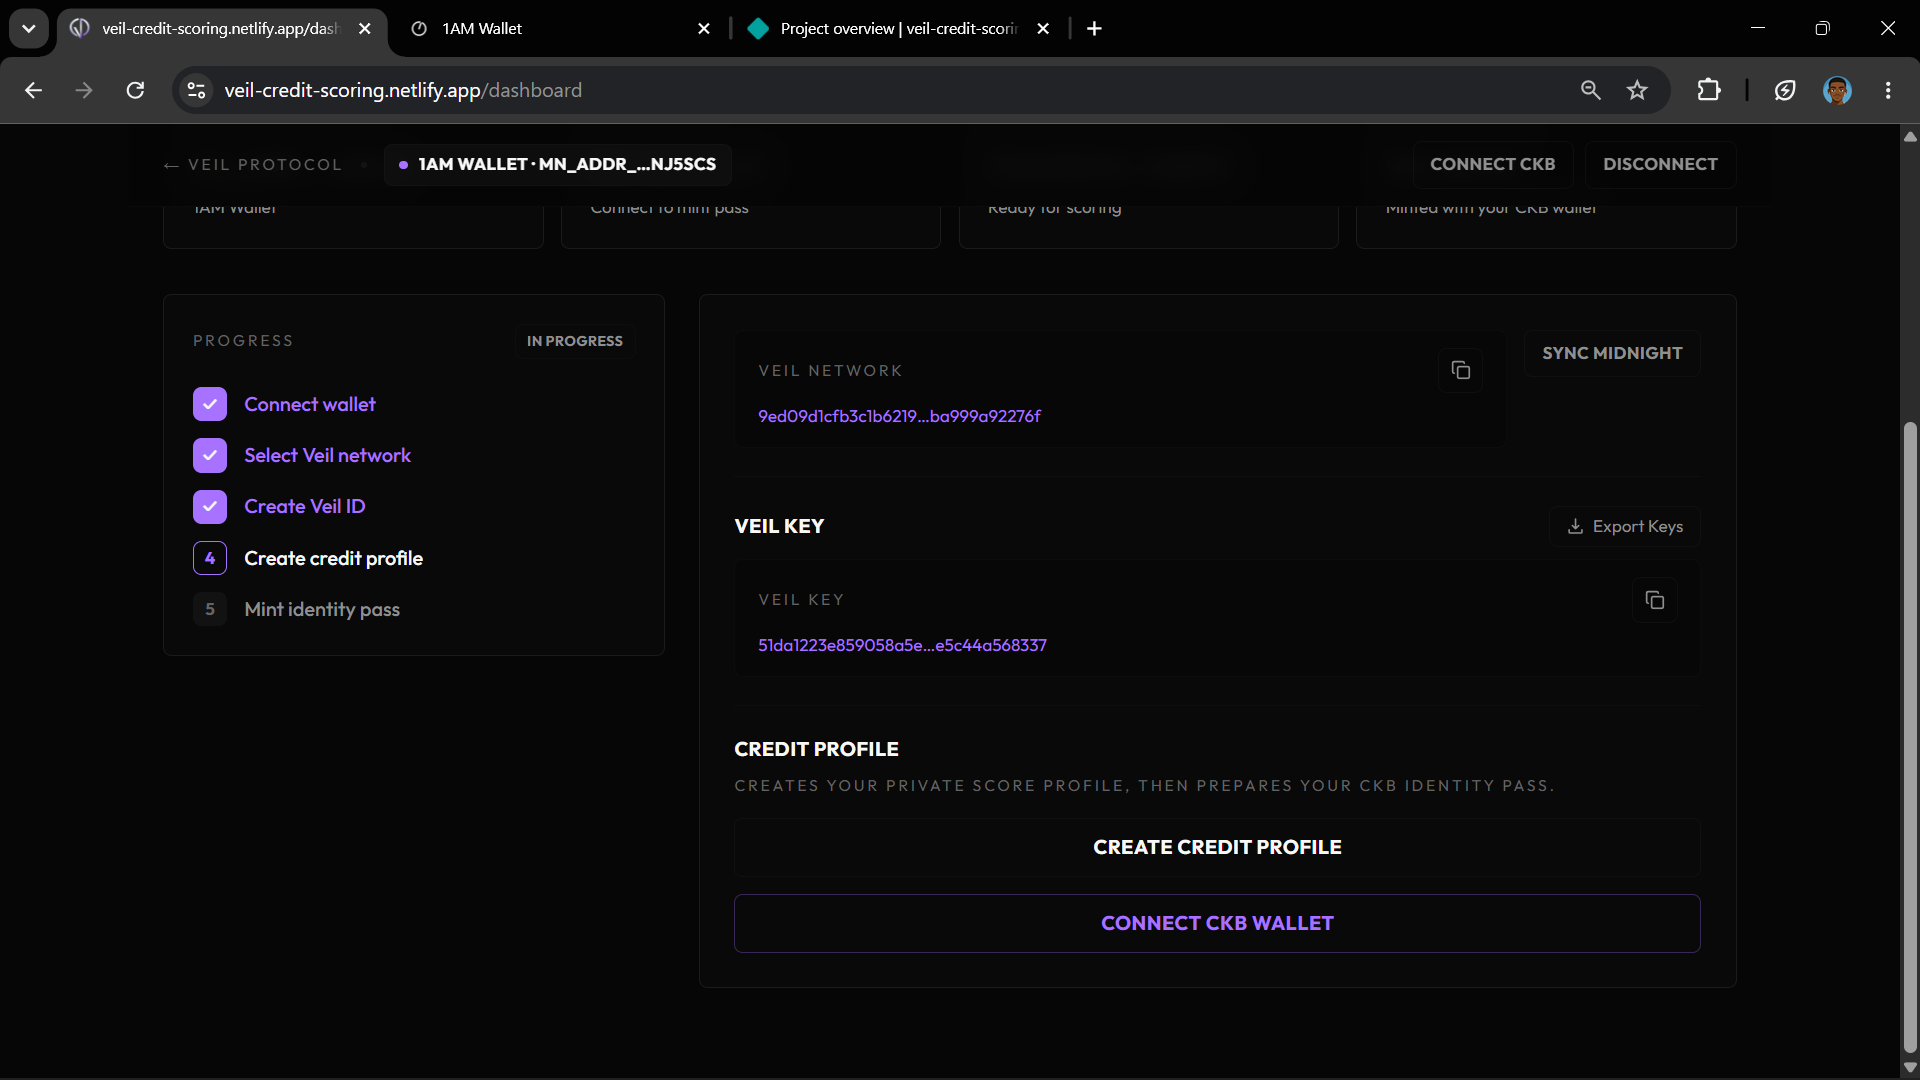
5. Create Credit Profile
- Click Create Credit Profile.
- Connect a CKB wallet if the app asks for one.
- Wait for the credit profile status to show as confirmed.
This step creates your private score profile and prepares the CKB identity pass used in the next step.
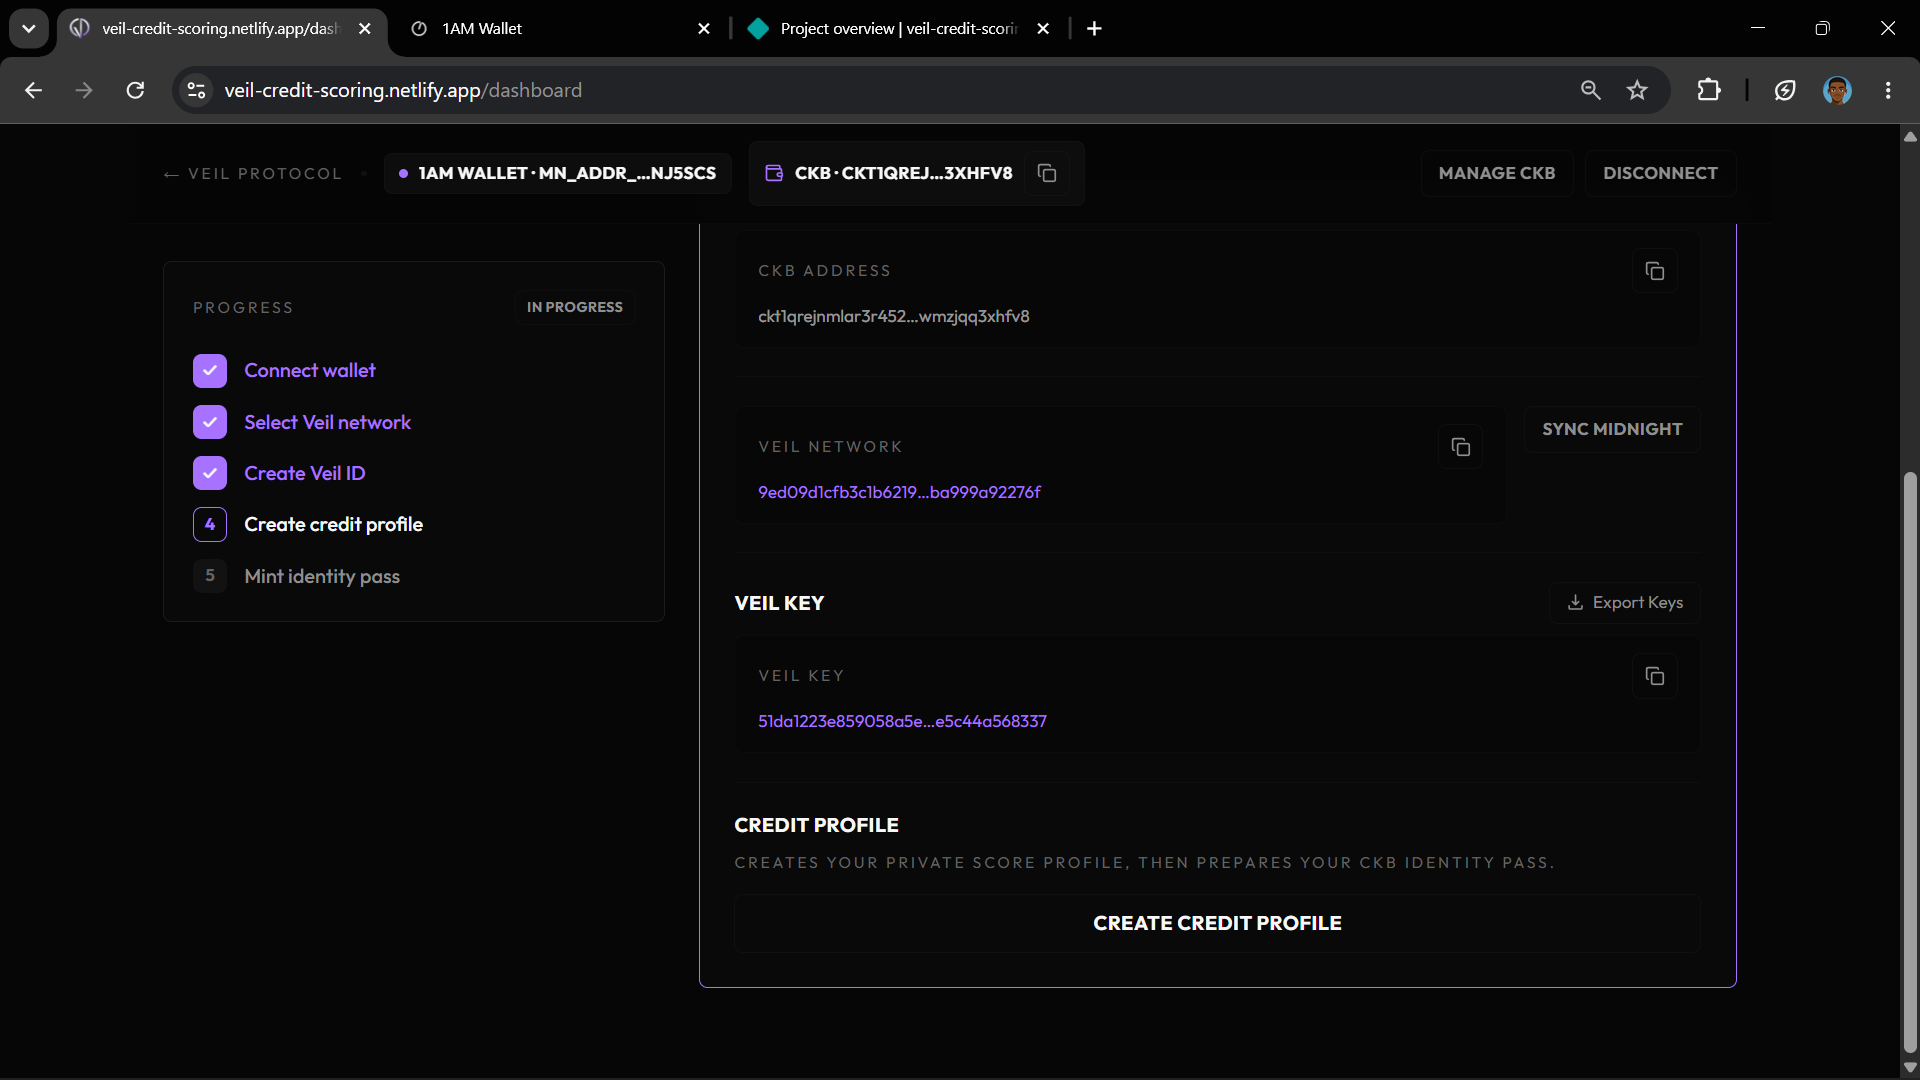
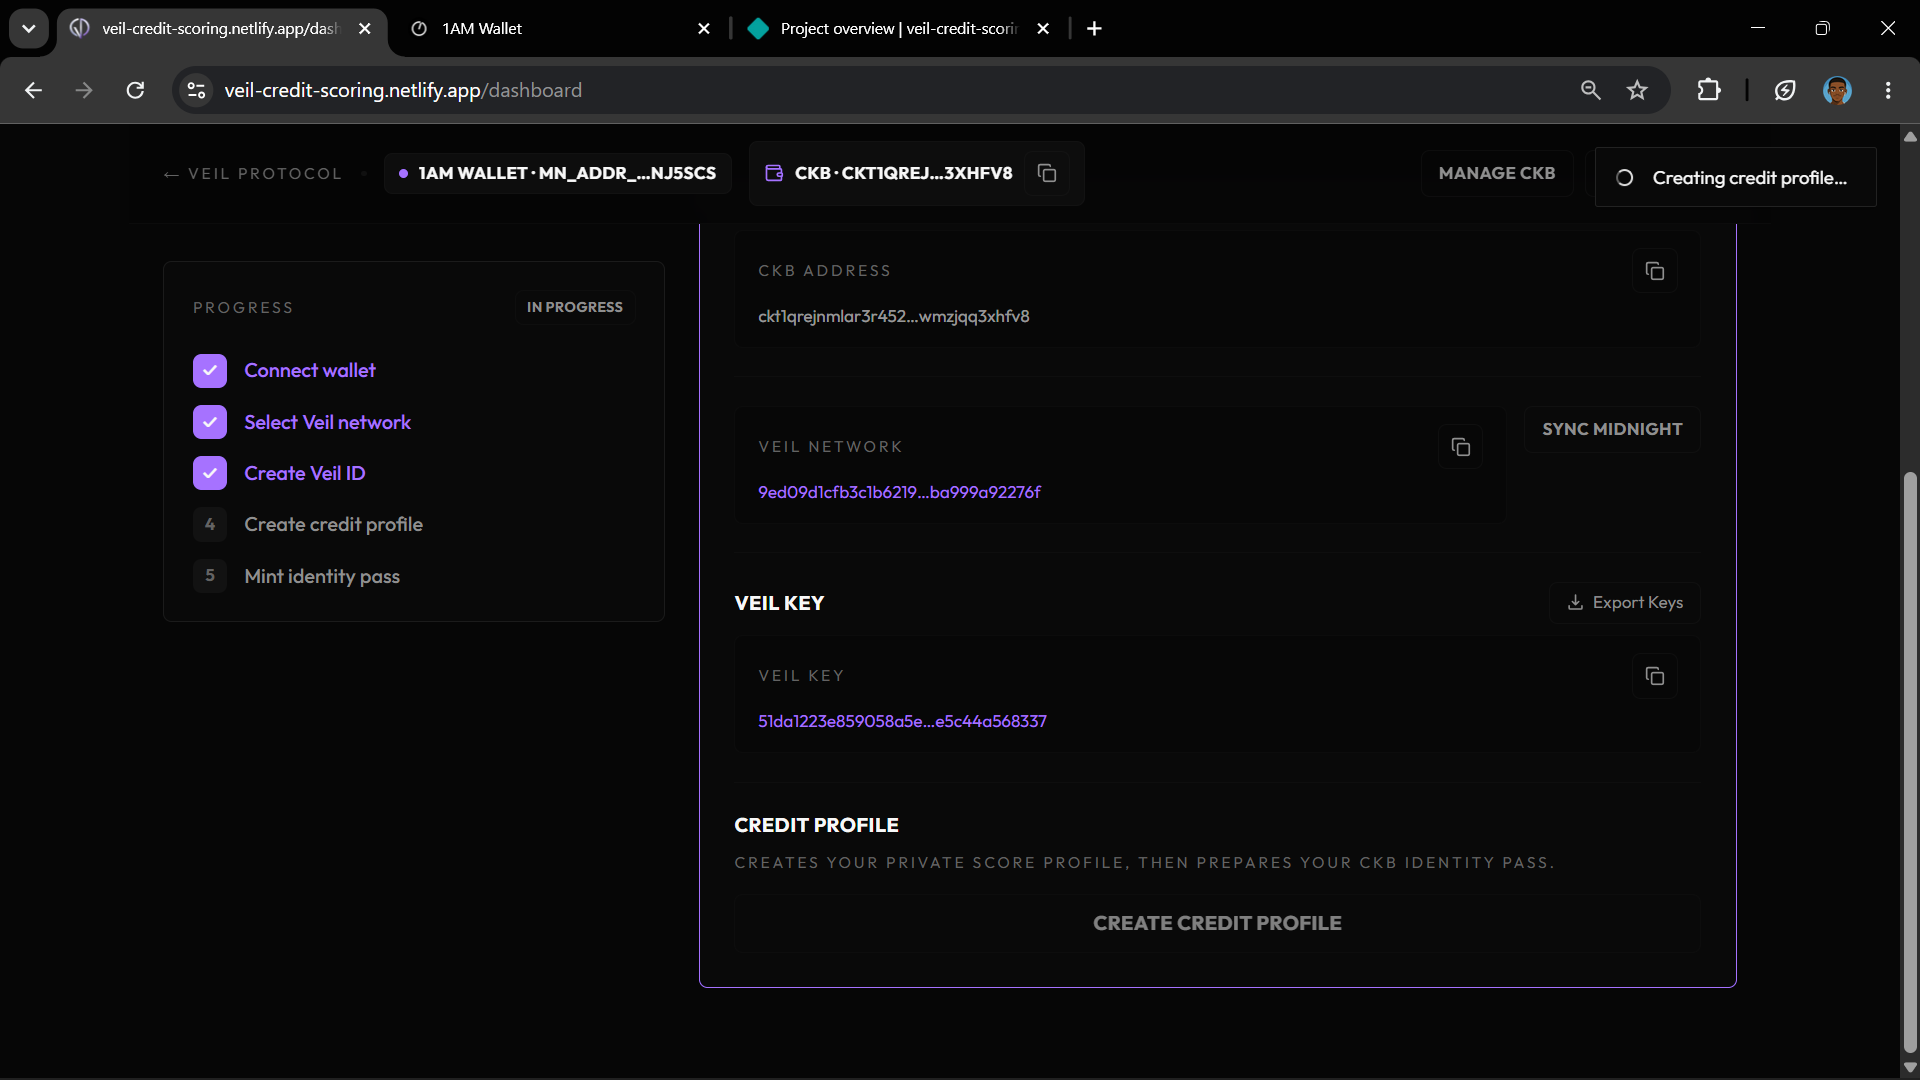
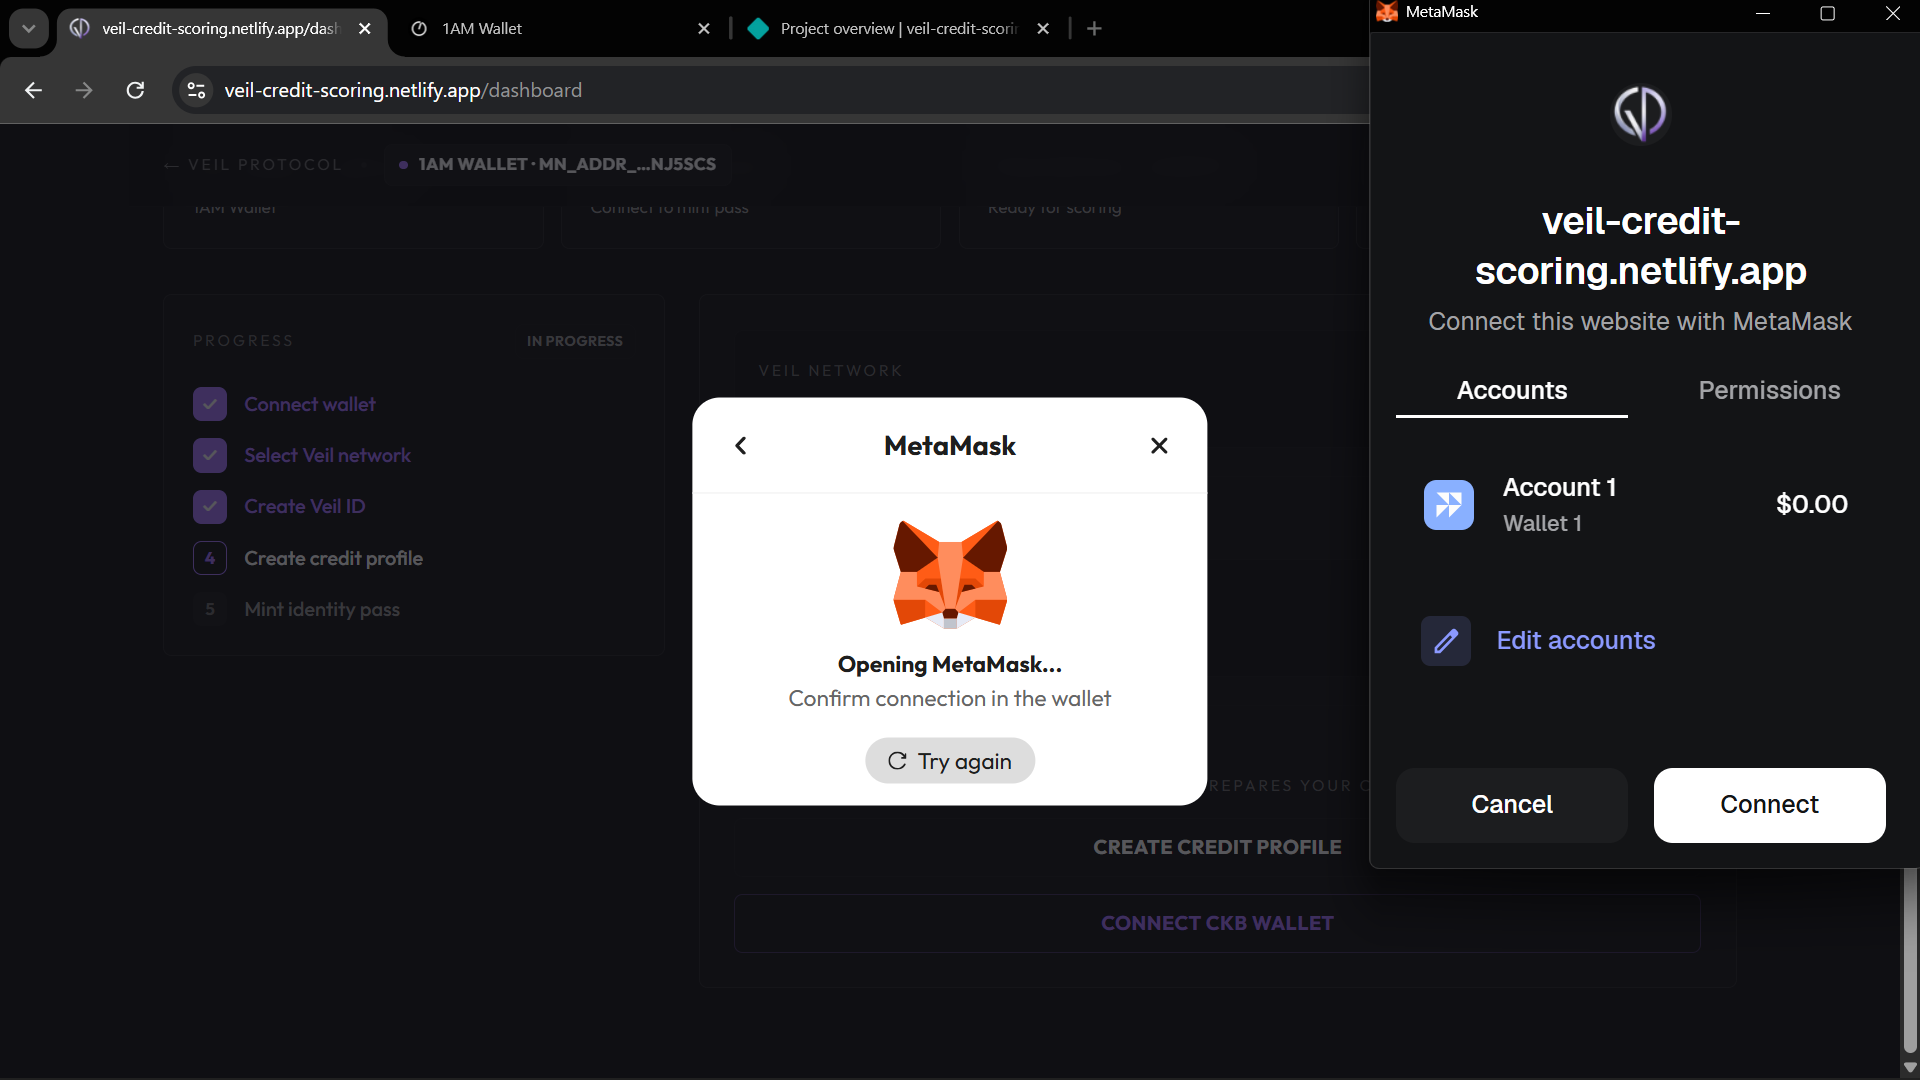
6. Connect CKB Wallet
- Click Connect CKB or Connect CKB Wallet.
- Select your CKB wallet from the wallet picker.
- Approve the connection request.
- Confirm that a CKB address appears in the dashboard session bar or stats area.
For JoyID, follow the passkey or QR flow shown by the wallet. Make sure the wallet is on CKB testnet and has testnet CKBytes before minting.
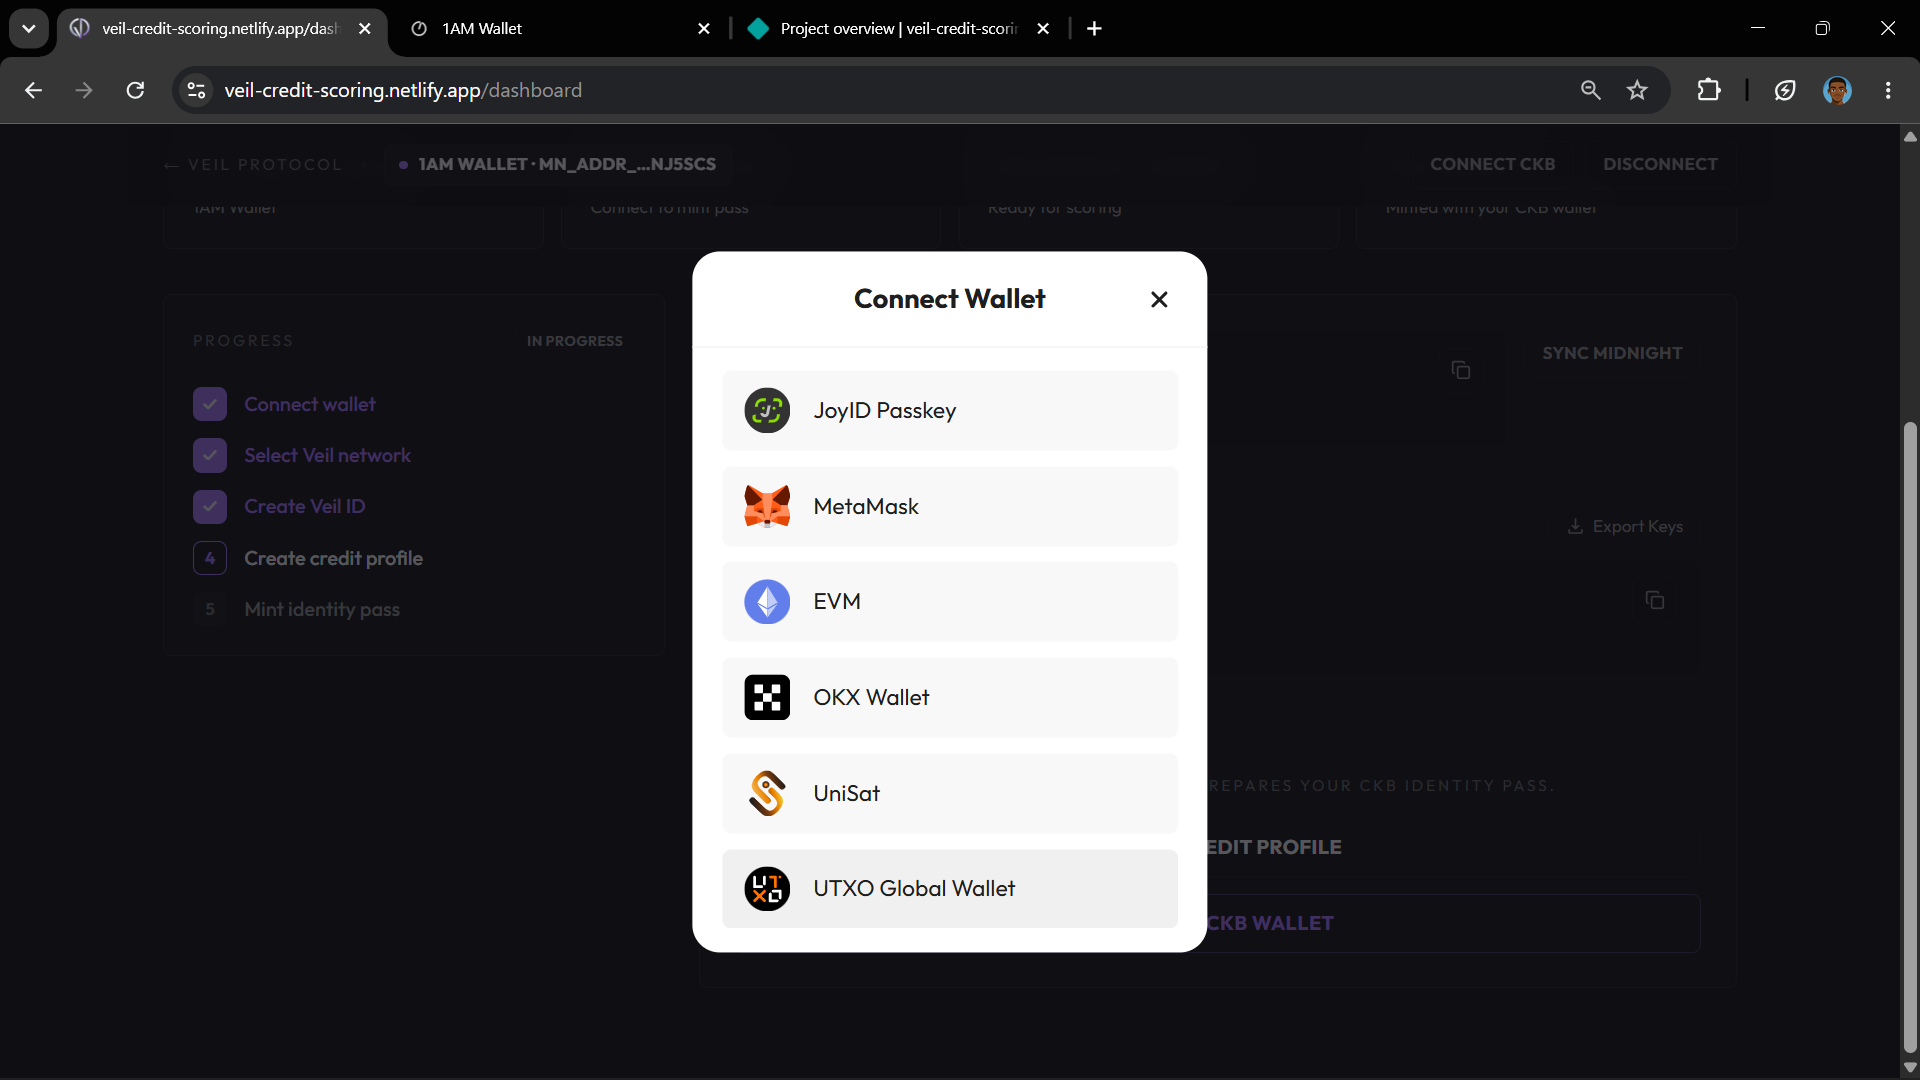
7. Claim CKB Faucet Tokens
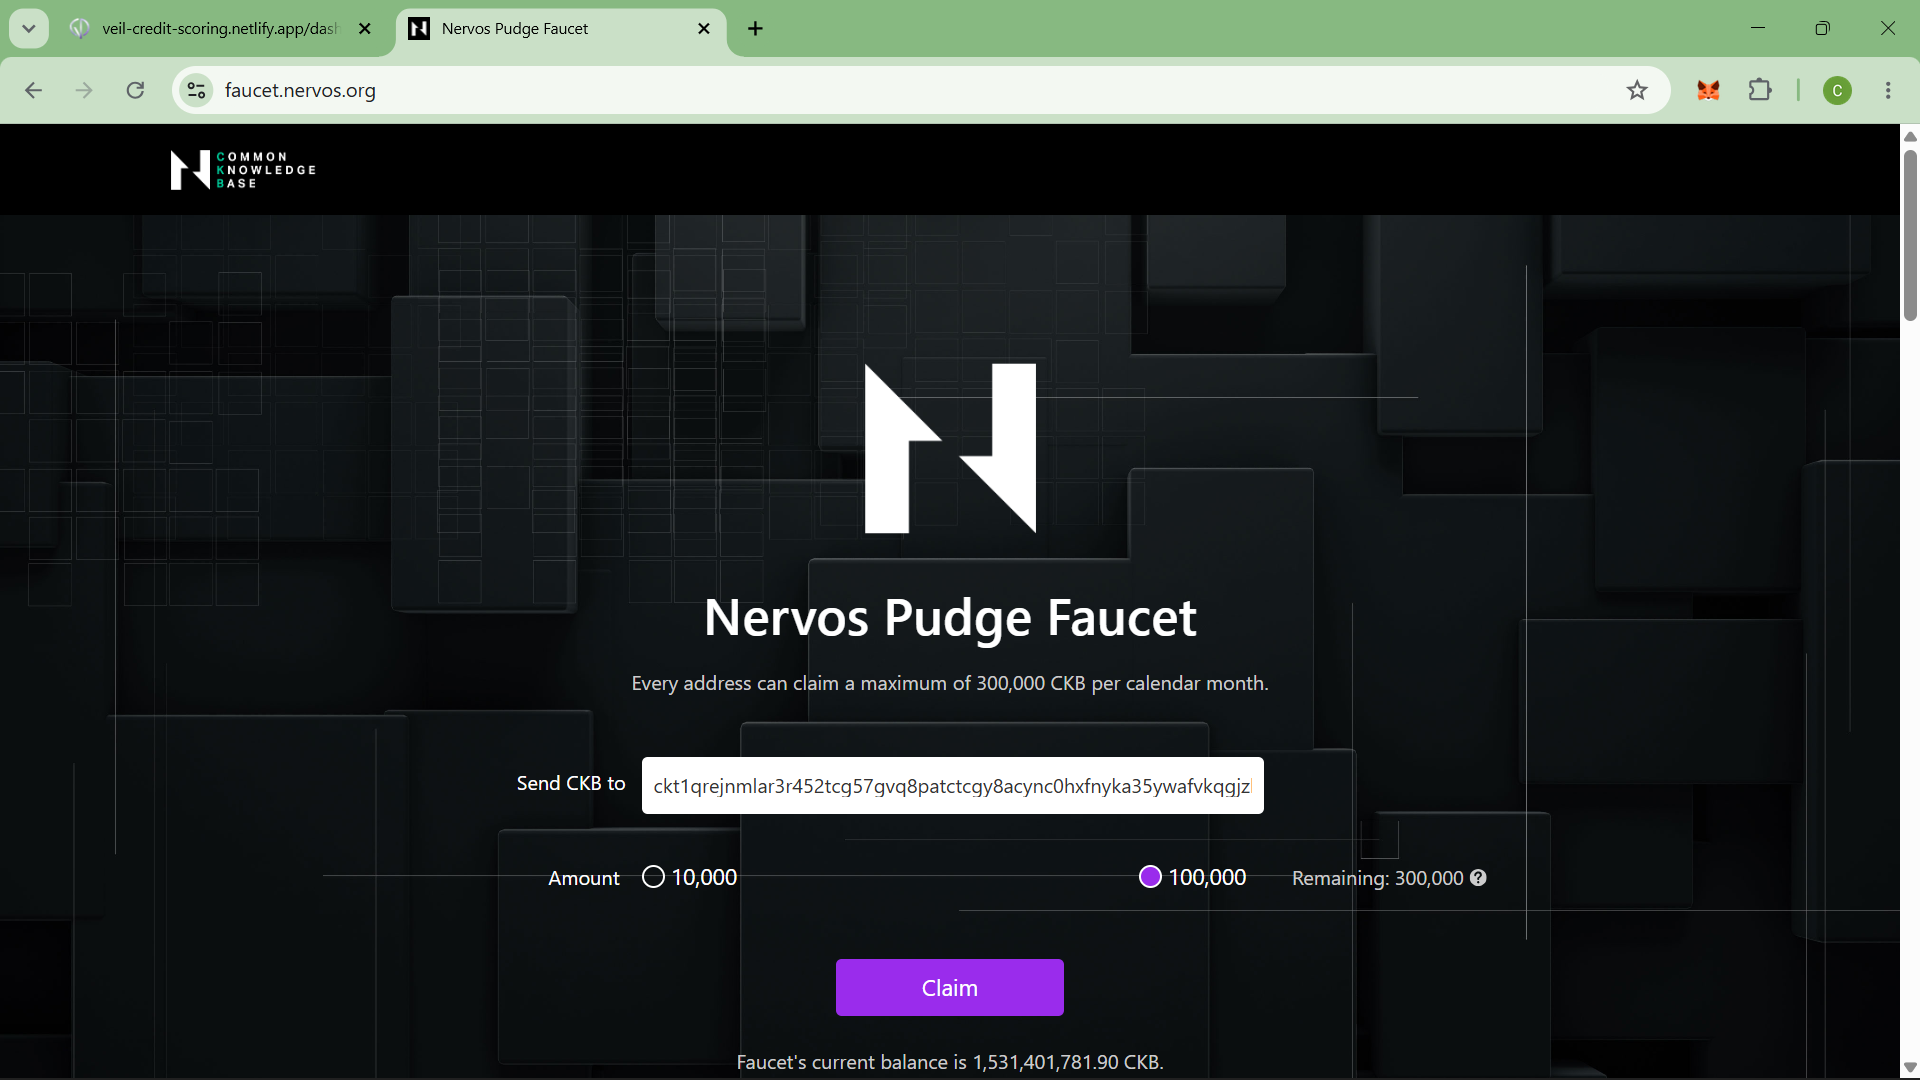
You can connect your preferred CKB wallet early, immediately after connecting your Midnight wallet, then copy the CKB address and claim faucet tokens before the app needs them. You can also wait until the dashboard prompts you to connect CKB during credit profile or identity pass minting.
- After connecting your CKB wallet, copy the connected CKB address from the dashboard.
- Open faucet.nervos.org.
- Paste your copied CKB testnet address into the faucet claim form.
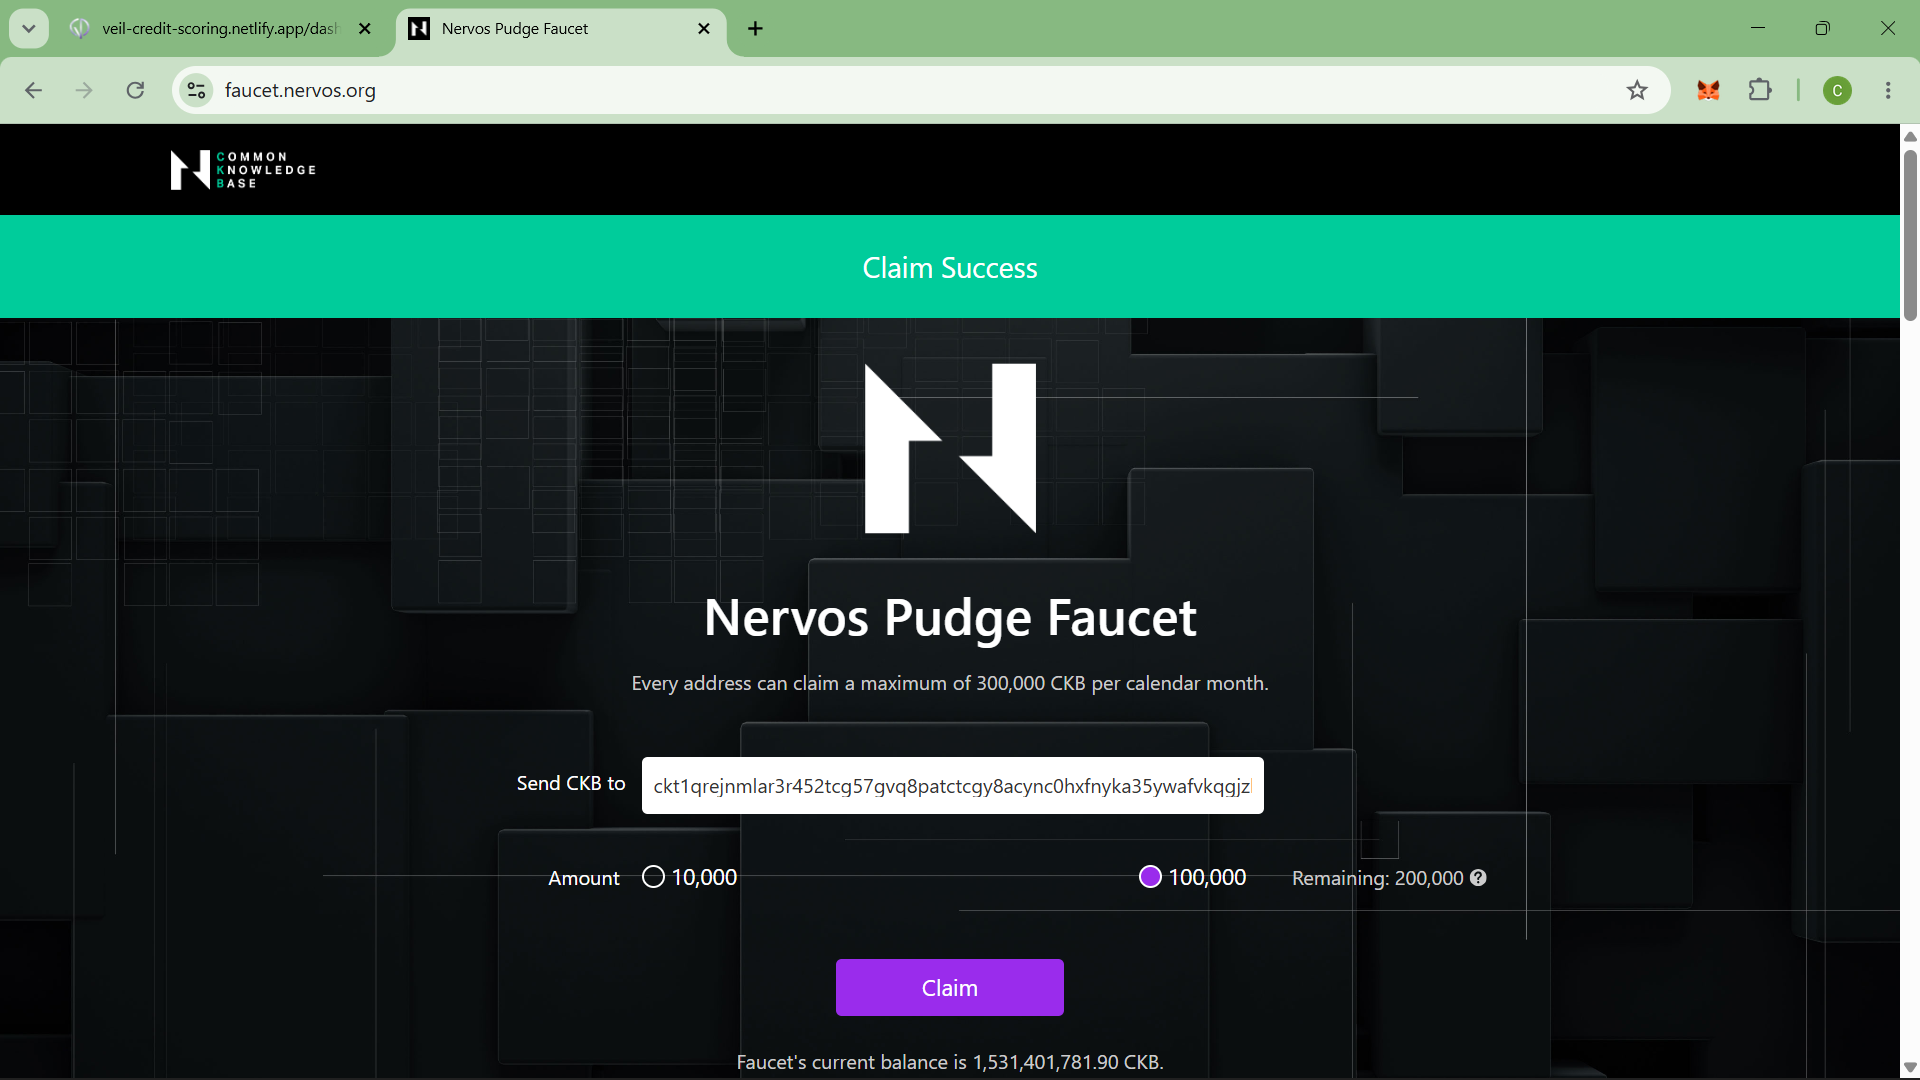
- Submit the claim and wait for the faucet transaction to complete.
- Return to the Veil dashboard once your CKB wallet shows the testnet CKBytes.
- Refresh the Veil dashboard so it can detect the updated CKB wallet balance.
These faucet tokens are required because the identity pass mint is paid by the connected CKB wallet. The backend prepares the mint, but it does not pay the CKB storage or transaction fee for the user.
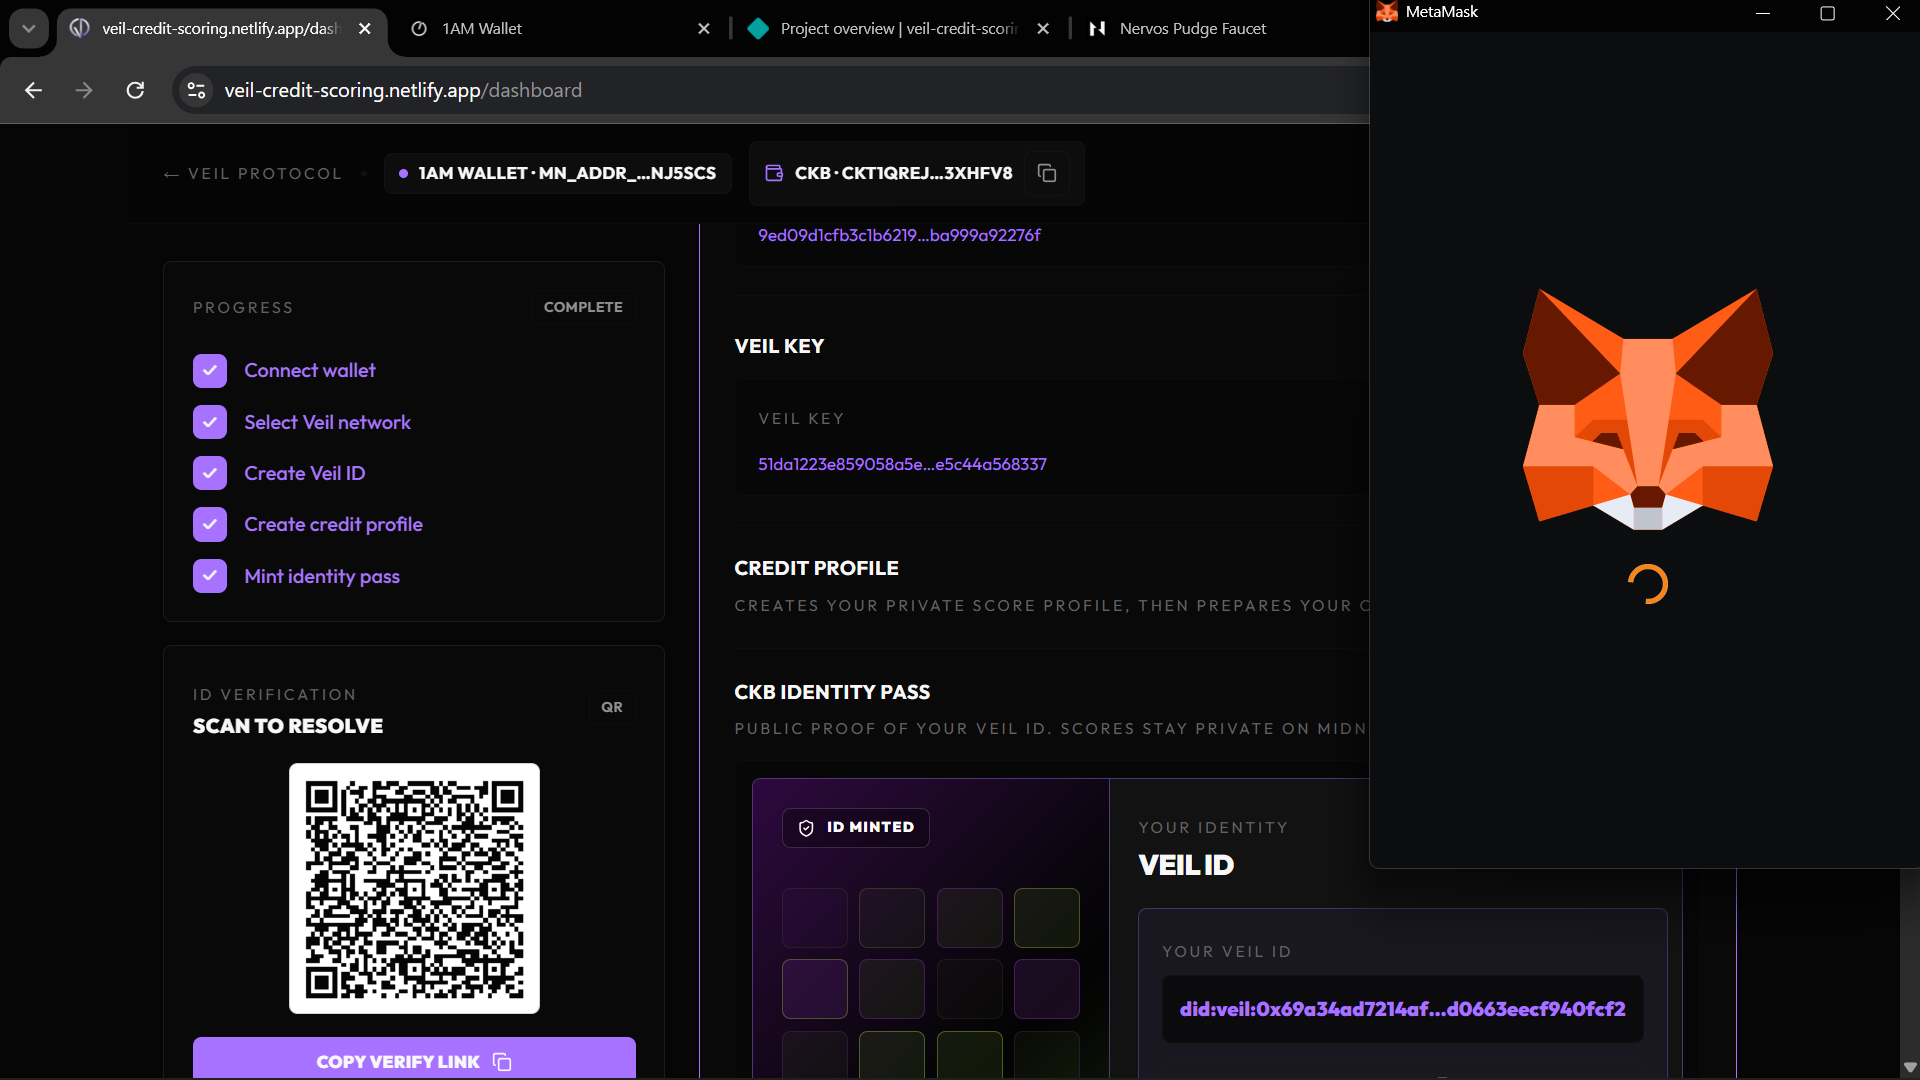
8. Mint Identity Pass
- Find the CKB Identity Pass section.
- Click Mint Identity Pass in CKB Wallet.
- Review and approve the CKB transaction in your wallet.
- Wait while the app records the mint and registers your DID on Midnight.
- Confirm that the dashboard shows:
- Your Veil ID — a
did:veil:0x…identifier in the identity pass card - A Record ID and View Transaction link
- A QR code panel on the left for sharing your DID verification link
- Your Veil ID — a
The identity pass is a permanent public record on CKB that proves your Veil DID belongs to your CKB wallet. Your score data remains private on Midnight. The backend also registers your DID on Midnight during this step, making it resolvable by any protocol.
9. Check Credit Status
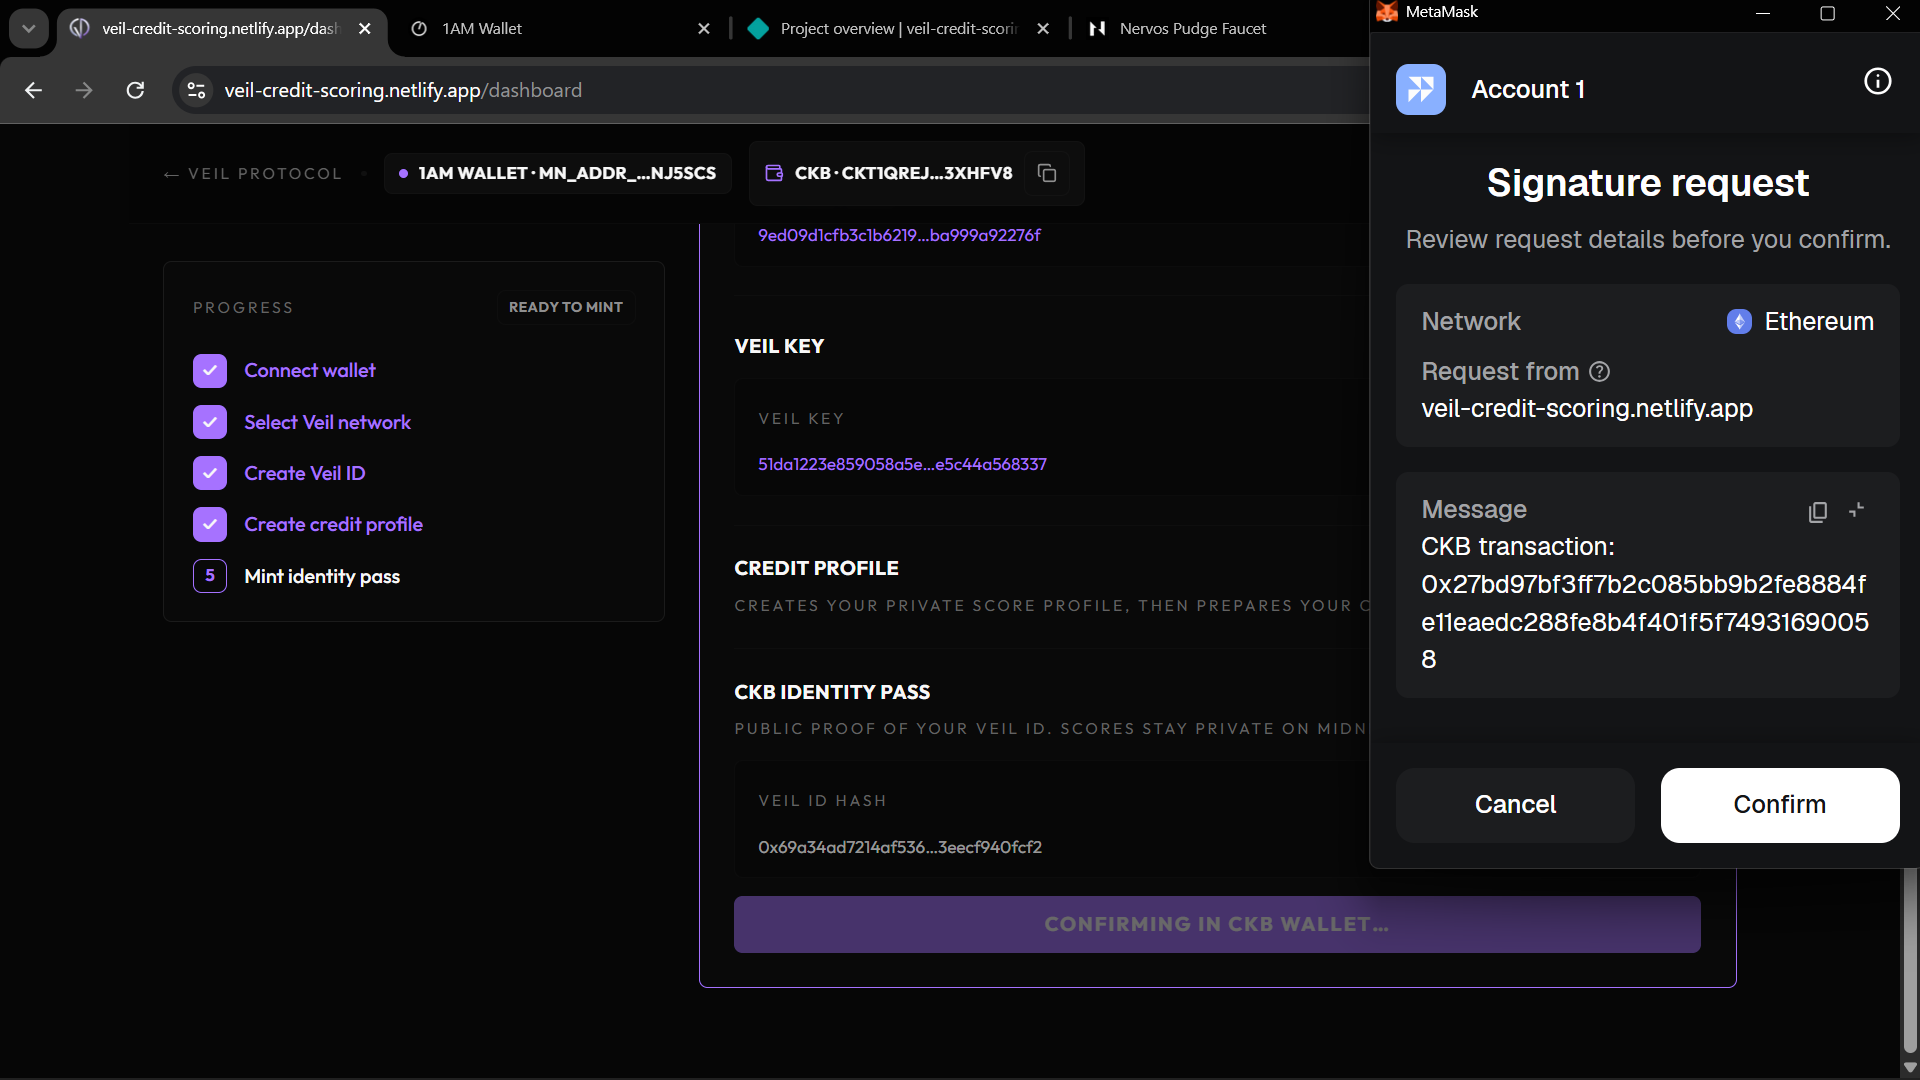
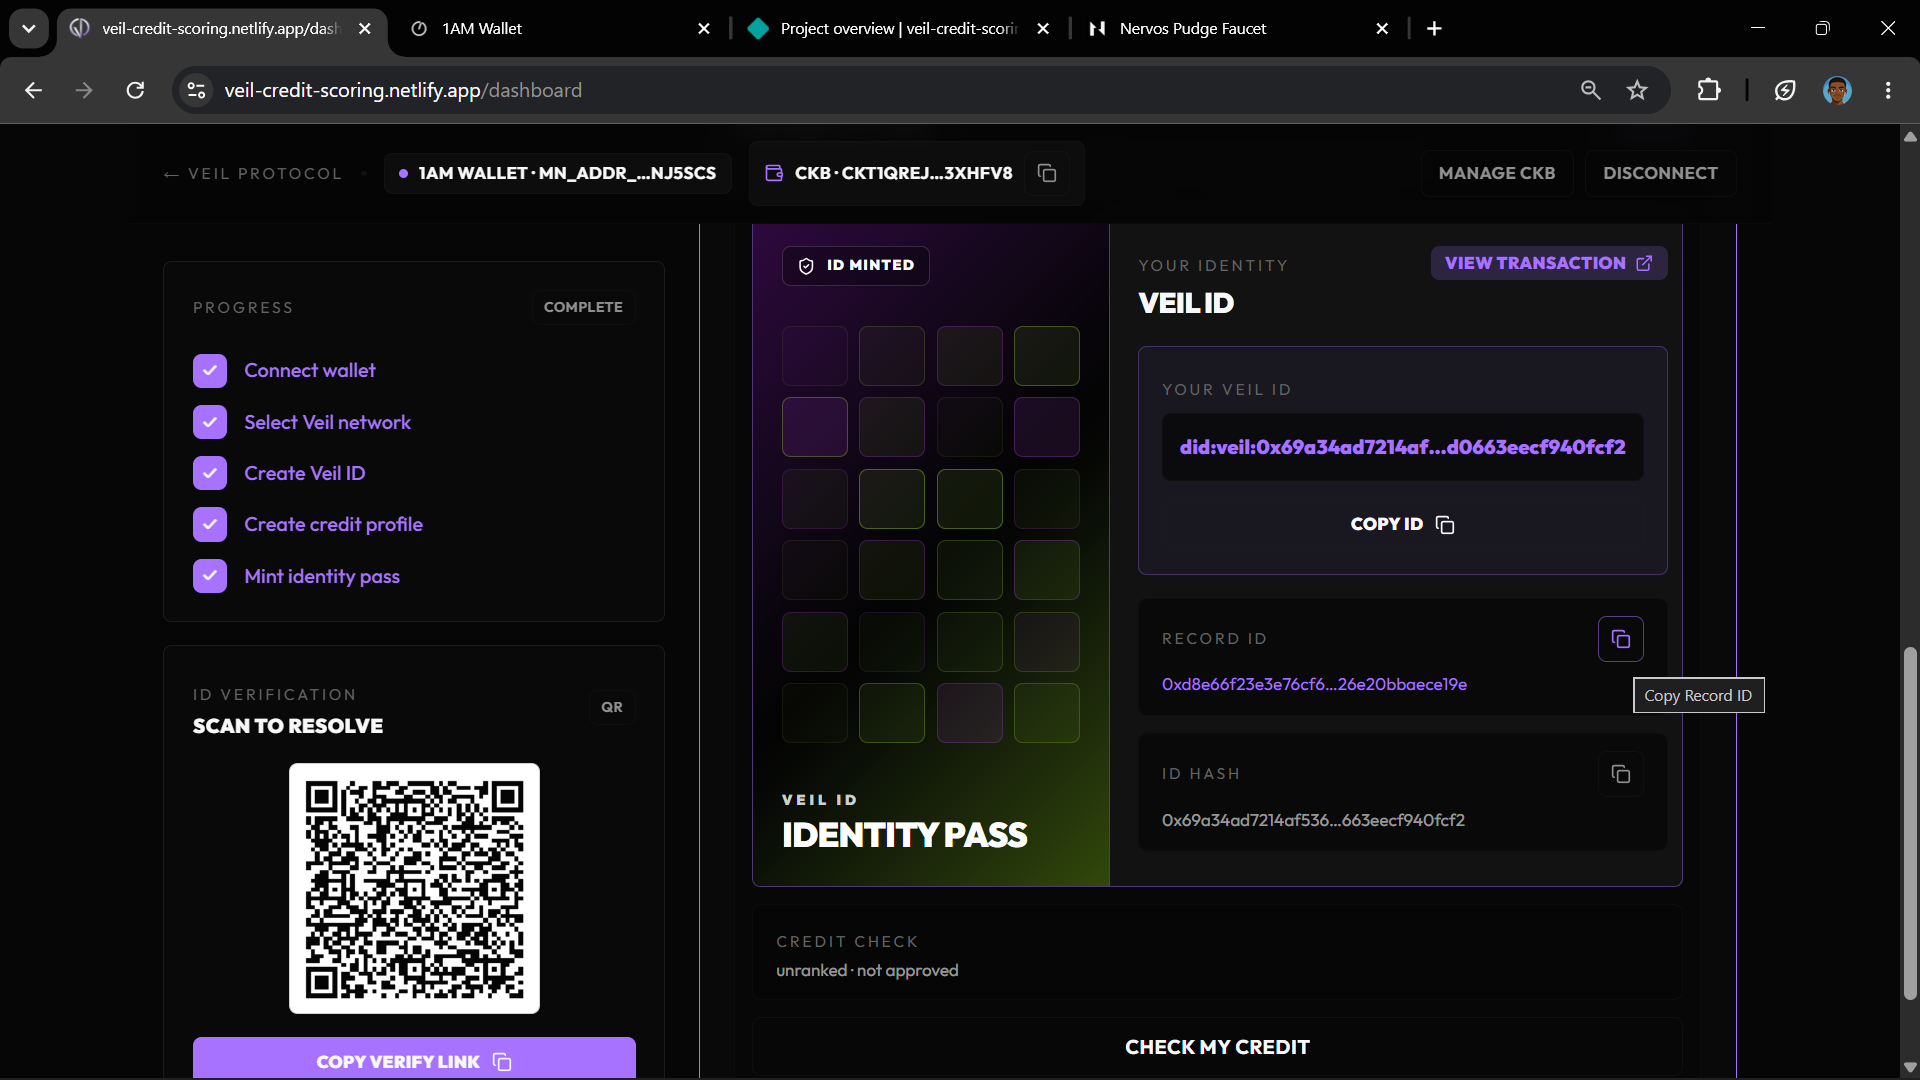
- After the identity pass is minted, click Check My Credit.
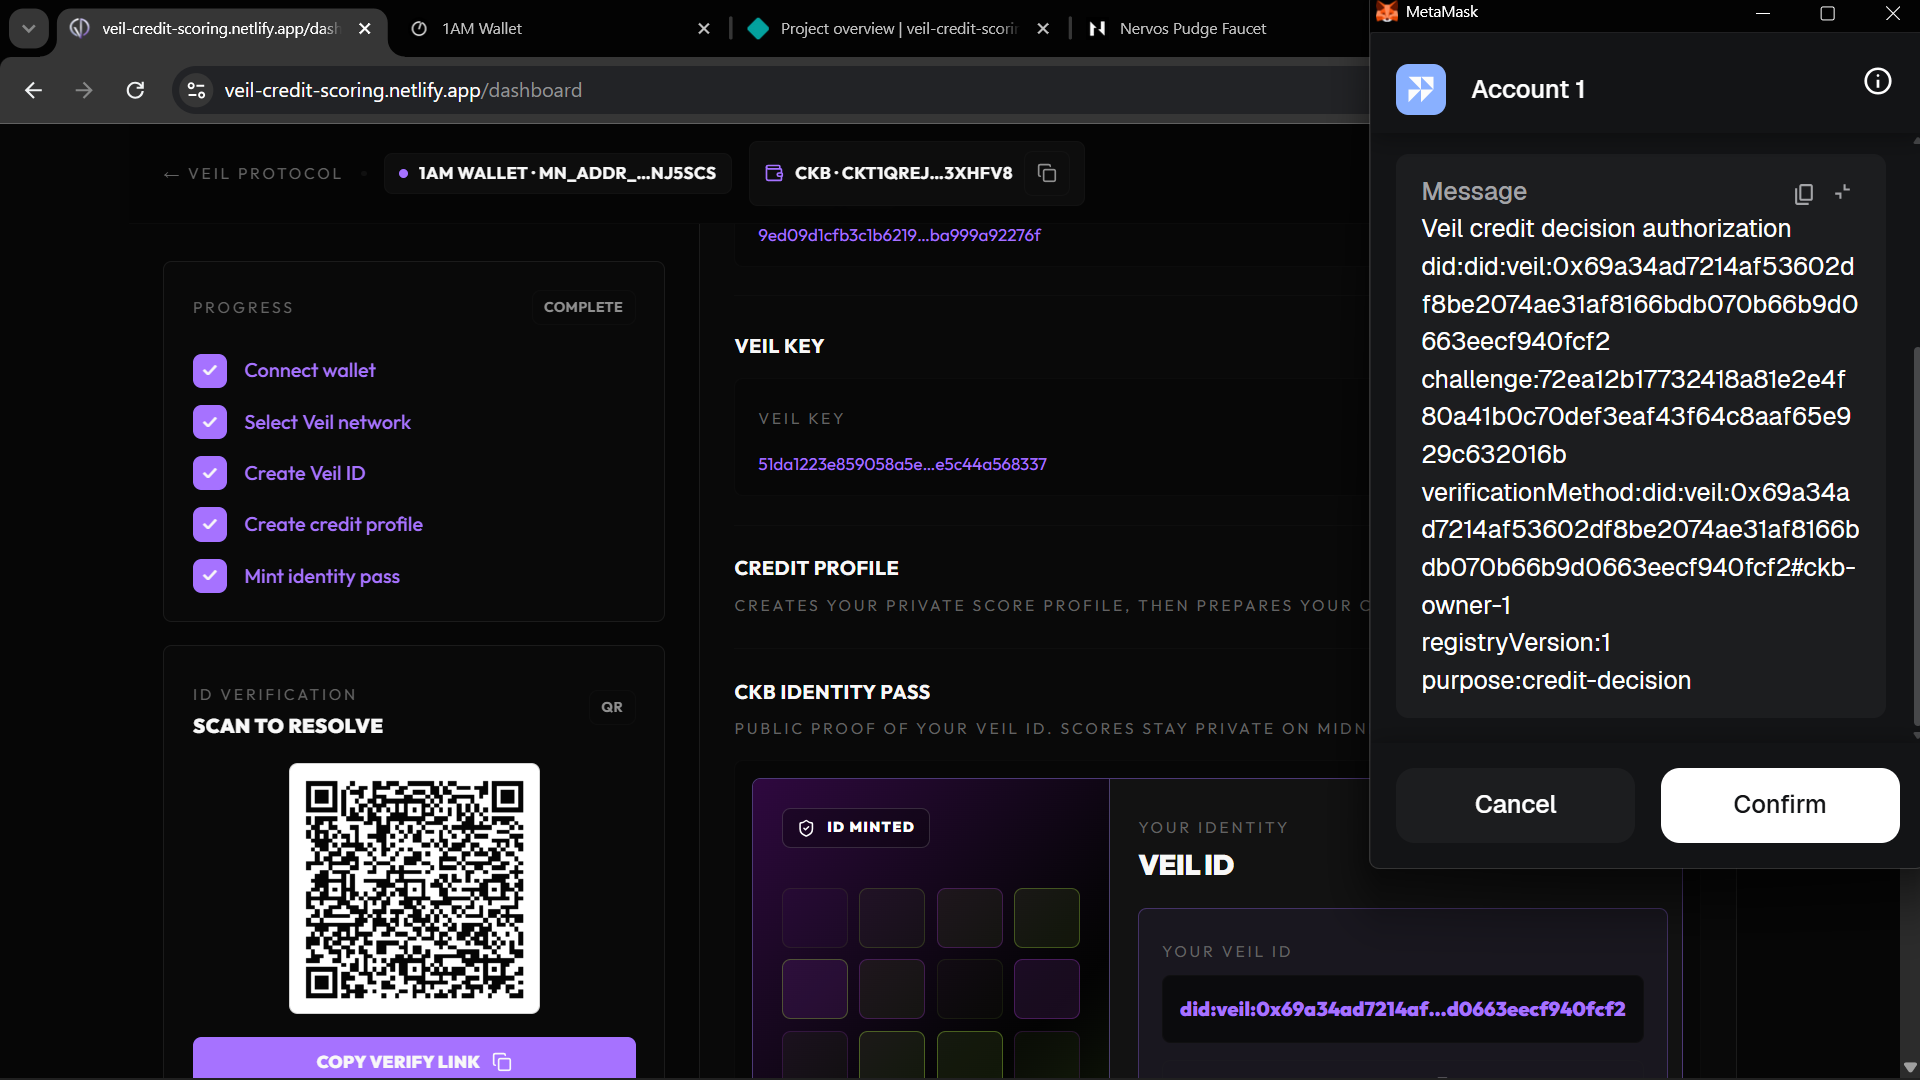
- Your CKB wallet will ask you to sign a short message tied to your Veil DID. This proves you control the identity pass without revealing any private keys.
- Wait for the dashboard to show the credit check result.
- The result shows your current credit band (Unranked, Bronze, Silver, Gold, or Platinum) and the LTV limit associated with that band.
It is normal for early test accounts to be unranked if no activity has been submitted for that Veil ID yet. Your score improves as partner protocols submit behavioral data.
Use Veil ID for Credit Checks
After minting your identity pass, the dashboard shows your Veil ID — a globally unique identifier in the format did:veil:0x…. This is a Decentralized Identifier (DID) that connects your private Midnight credit profile to your CKB identity pass.
Your Veil DID is safe to share with any app that wants to check your credit status. It does not reveal your seed phrase, Midnight private key, CKB private key, or raw credit history.
After the identity pass is minted, use the Copy ID button, the QR card, or Copy Verify Link to share your identity with apps. The dashboard shortens long identifiers visually, but the copy buttons always copy the full values.
- Veil ID — your
did:veil:0x…DID shown in the identity pass card. This is the main identifier to share. - Verify Link — a URL pointing to the DID resolution endpoint for your DID. Apps can follow this link to verify your identity.
- QR Code — encodes the same verify link. Apps can scan it to initiate a credit check without you typing anything.
- Record ID — the CKB Spore record ID shown in the pass details. Used internally by the backend.
- ID Hash — the 0x-prefixed hash stored inside the pass content. Technical integrations may ask for this.
- Veil key — also called
userPk; used by protocols to submit behavioral events for your profile.
A lending app or other checker should not ask for your seed phrase or private keys. It asks your CKB wallet to sign a short authorization message tied to your Veil DID, then sends that signed request to Veil for a credit decision.
The backend checks that the signed request is fresh, the Veil DID is registered on Midnight, and the signing CKB wallet owns the associated identity pass. If those checks pass, Veil returns a minimized result: approved, scoreBand, maxLtvBps, and riskPremiumBps.
did:veil:0x…) or verification link with apps you want to use. The DID is safe to share publicly — it does not expose your score, private keys, or wallet addresses on other chains. Never share wallet seed phrases, private keys, or browser private-state exports.What To Share Back
After testing, send the Veil team the following:
- Whether you completed the full flow or where you got blocked
- Your browser and operating system
- Which Midnight wallet you used
- Which CKB wallet you used
- The record ID and CKB transaction hash if minting succeeded
- A screenshot of any error message
- Console errors only if the team asks for debugging details
Troubleshooting
| Issue | What to try |
|---|---|
| Midnight wallet does not appear | Unlock the extension, refresh the page, and try Chrome or Brave. |
| Create Veil ID takes a long time | Unlock the Midnight wallet, refresh, and retry. |
| CKB wallet cannot mint | Check that the wallet is on testnet and has enough testnet CKBytes. |
| Identity pass mint succeeds but app does not update | Save the transaction hash, refresh the dashboard, and reconnect both wallets. |
| Credit check says unranked | This can happen when no activity exists yet for your Veil ID. |